For builders

For builders
Approved PeterFell C2 Applicator
Approved TextureSafe Applicator
Twenty-Five Years Combined Experience
Grinding Dynamics
Published 17 August 2026 · 10 minute read
By the time a grinder is called to site, most of the outcome is already fixed. The mix is in the ground, the flatness is what it is, the colour was decided by whoever placed the order, and whatever landed on the slab during the build is now part of it. We can control depth, sheen and sealer. Everything else was decided by people who were on site months before us.
That is the whole argument for bringing a grinder in early. Not to sell more work, but because early involvement is the only point at which the result can actually be controlled. This is written for site managers and project managers who want the floor to be a known quantity rather than a hopeful one at practical completion.
By the time we are called, most of the floor is already decided.
Identify which areas are polished and confirm it in writing before the job is priced. That sounds obvious and it is the most common failure point on jobs that go wrong. A floor described as polished concrete on a drawing, with no exposure, no colour and no sheen nominated, is not a specification and will be priced five different ways by five different applicators.
Three things nail it down. The exposure, meaning how much aggregate shows, from cream through salt and pepper to full stone. The colour, which for anything other than natural grey has to be batched at the plant. The sheen, from matt through satin to gloss. Get those on the drawing set and every quote you receive is comparing the same floor.
This is also the stage to confirm whether the slab is designed for it. Slab edge insulation, saw cut layout, joint positions and the location of penetrations all affect how the finished floor reads, and all are cheaper to think about now than to work around later.
Send us this before the concrete is ordered. It takes ten minutes and it removes most of the risk from the job.
The builders portal holds the full pre pour checklist and specification pack in a form you can attach to a subcontract. Use that as the reference document. This post is the reasoning behind it.
Flatness is the single largest control on how even a polished floor looks. A grinder cuts high points first and does not reach low points until the highs have come down. Three millimetres of variation across a room, which passes without comment under a floor covering, shows as a plainly different looking floor once it is cut.
Ask the placing crew for a tighter tolerance than they would normally work to, and tell them why. On larger slabs a laser screed pays for itself. Keep the depth consistent, keep the mix consistent, and avoid changes between loads. Two trucks with different water content, or a load that sat too long, will read as two different floors after grinding even though it was one pour.
Power trowelling matters as well. Where blades dwell or work harder, the paste densifies more than the surrounding area, and that difference is invisible on a raw slab and obvious once it is polished. Even, consistent trowelling across the whole floor is worth more than a hard closed finish in patches.
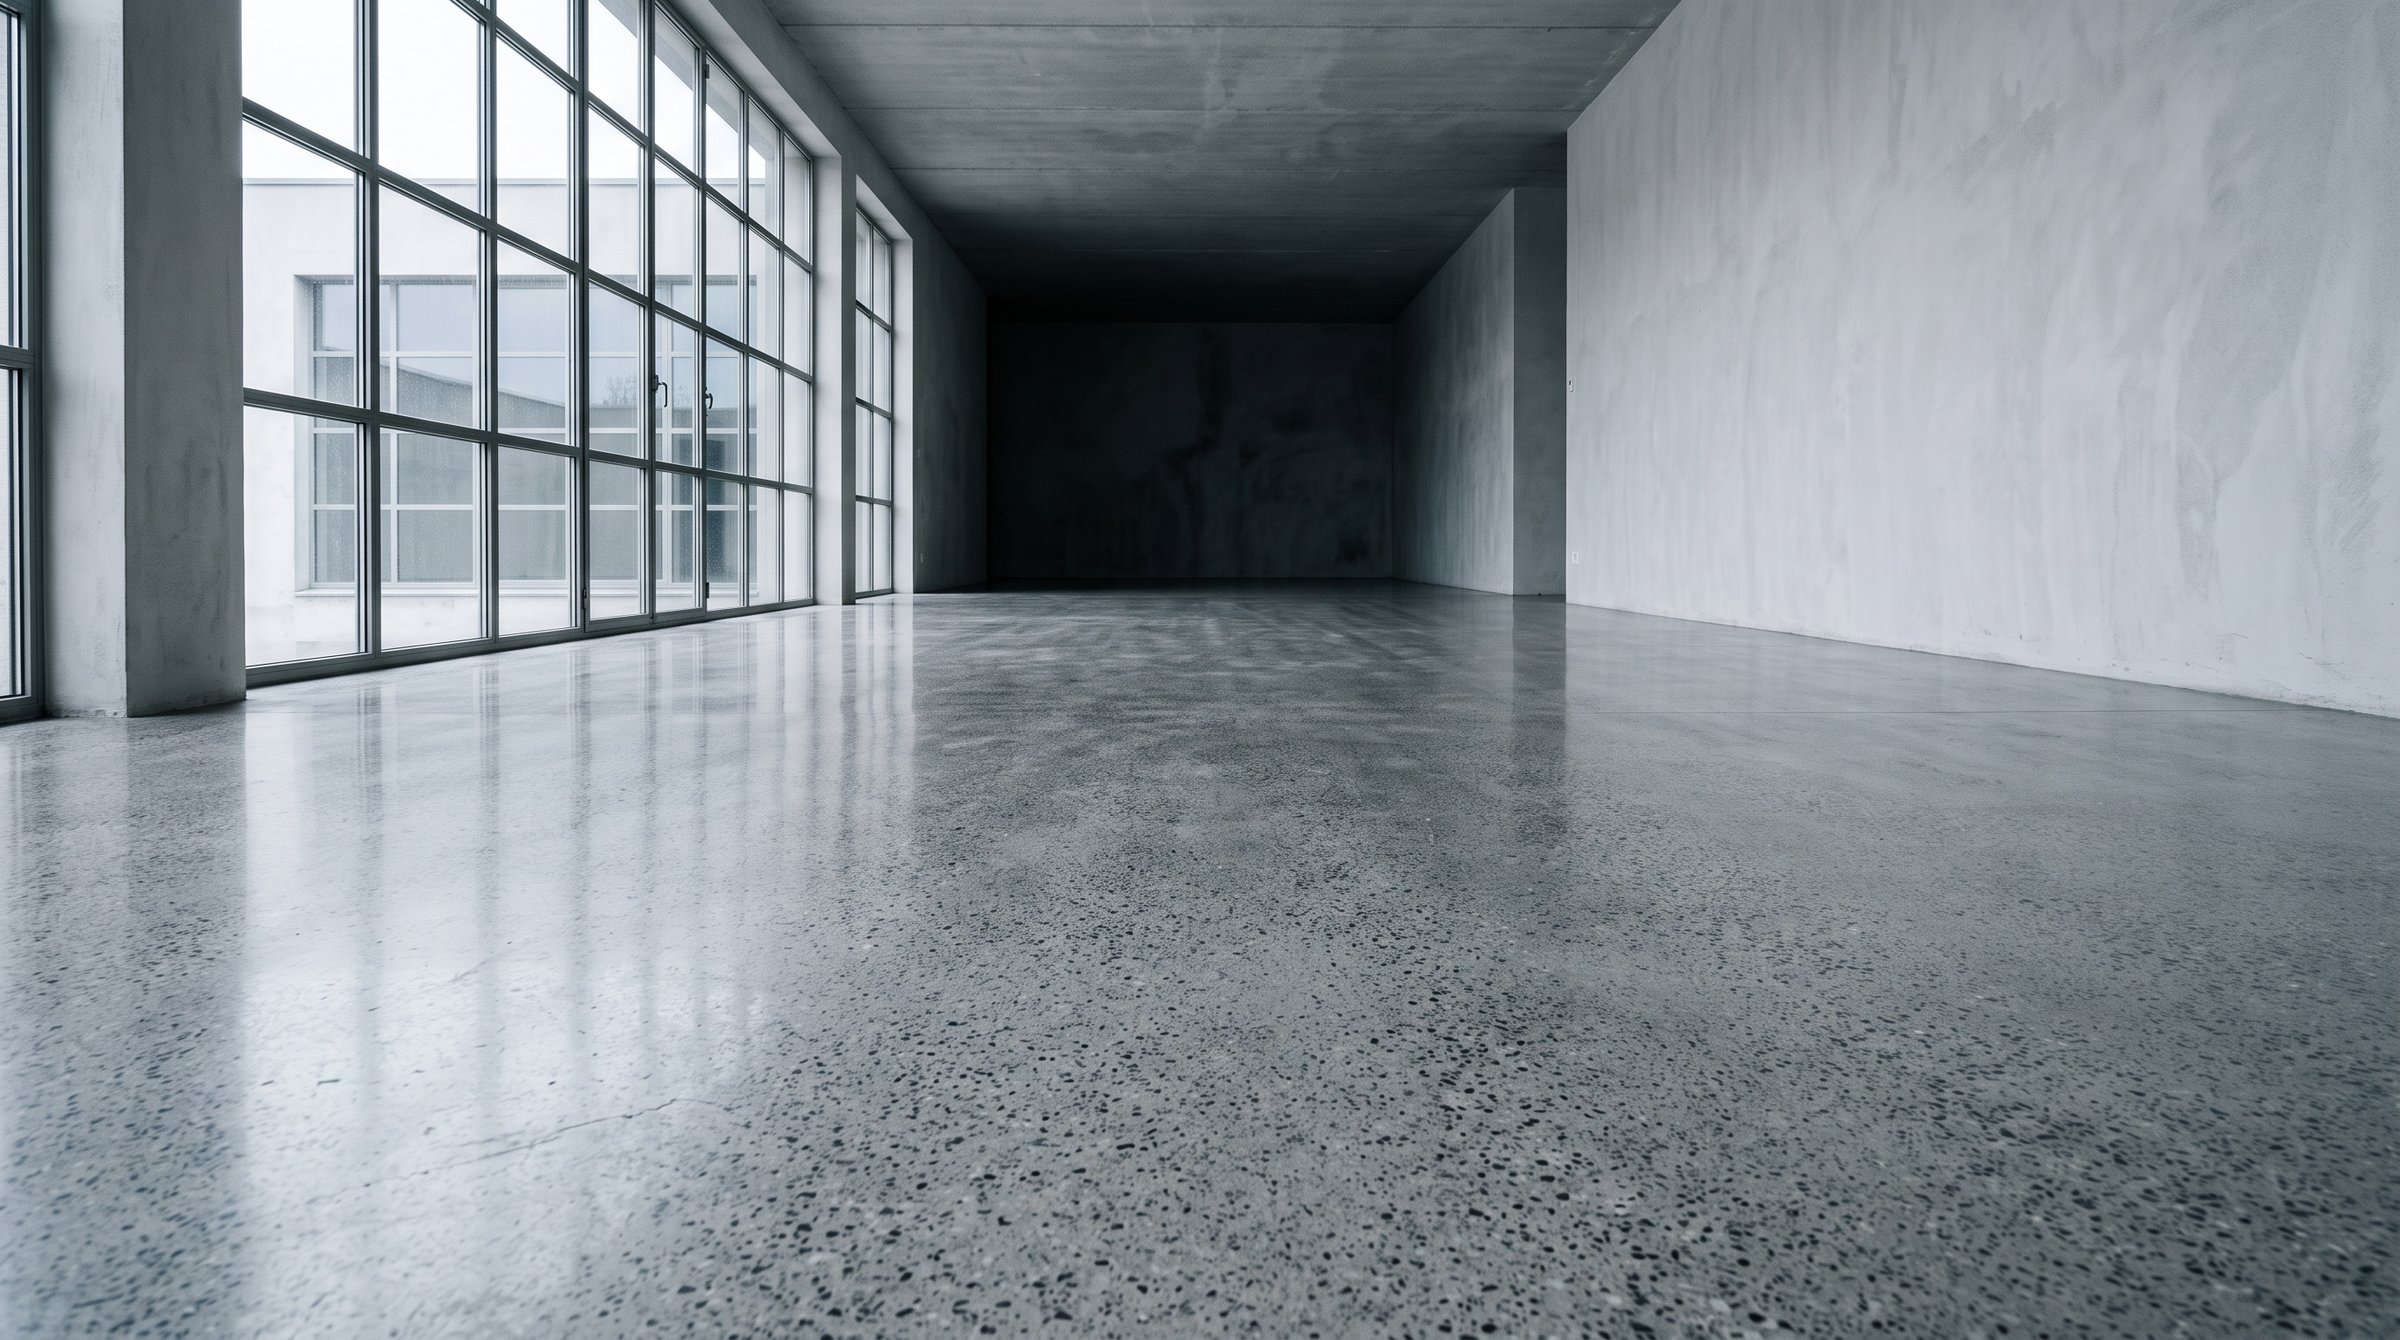
We cut what is in front of us. Depth and sheen are ours to control, and the rest was decided at the pour.
Concrete is porous until it is sealed, and it is at its most vulnerable for the months when it is being used as a work platform. Most of the floors we get called to fix were not badly poured, they were badly protected.
Do keep the following in mind as site rules, and brief every trade on them rather than assuming they know.

Rust, oil and adhesive marks left through the build. Some of this grinds out and some of it stays in the floor.
Minimum 28 days from the pour before we grind. That is not a scheduling preference, it is the point at which the concrete has developed enough strength for the diamonds to cut it predictably and for the sealer to bond properly. Grinding green concrete pulls stone out instead of cutting it, and sealing a slab that is still releasing moisture is how you get a cloudy or blistered finish.
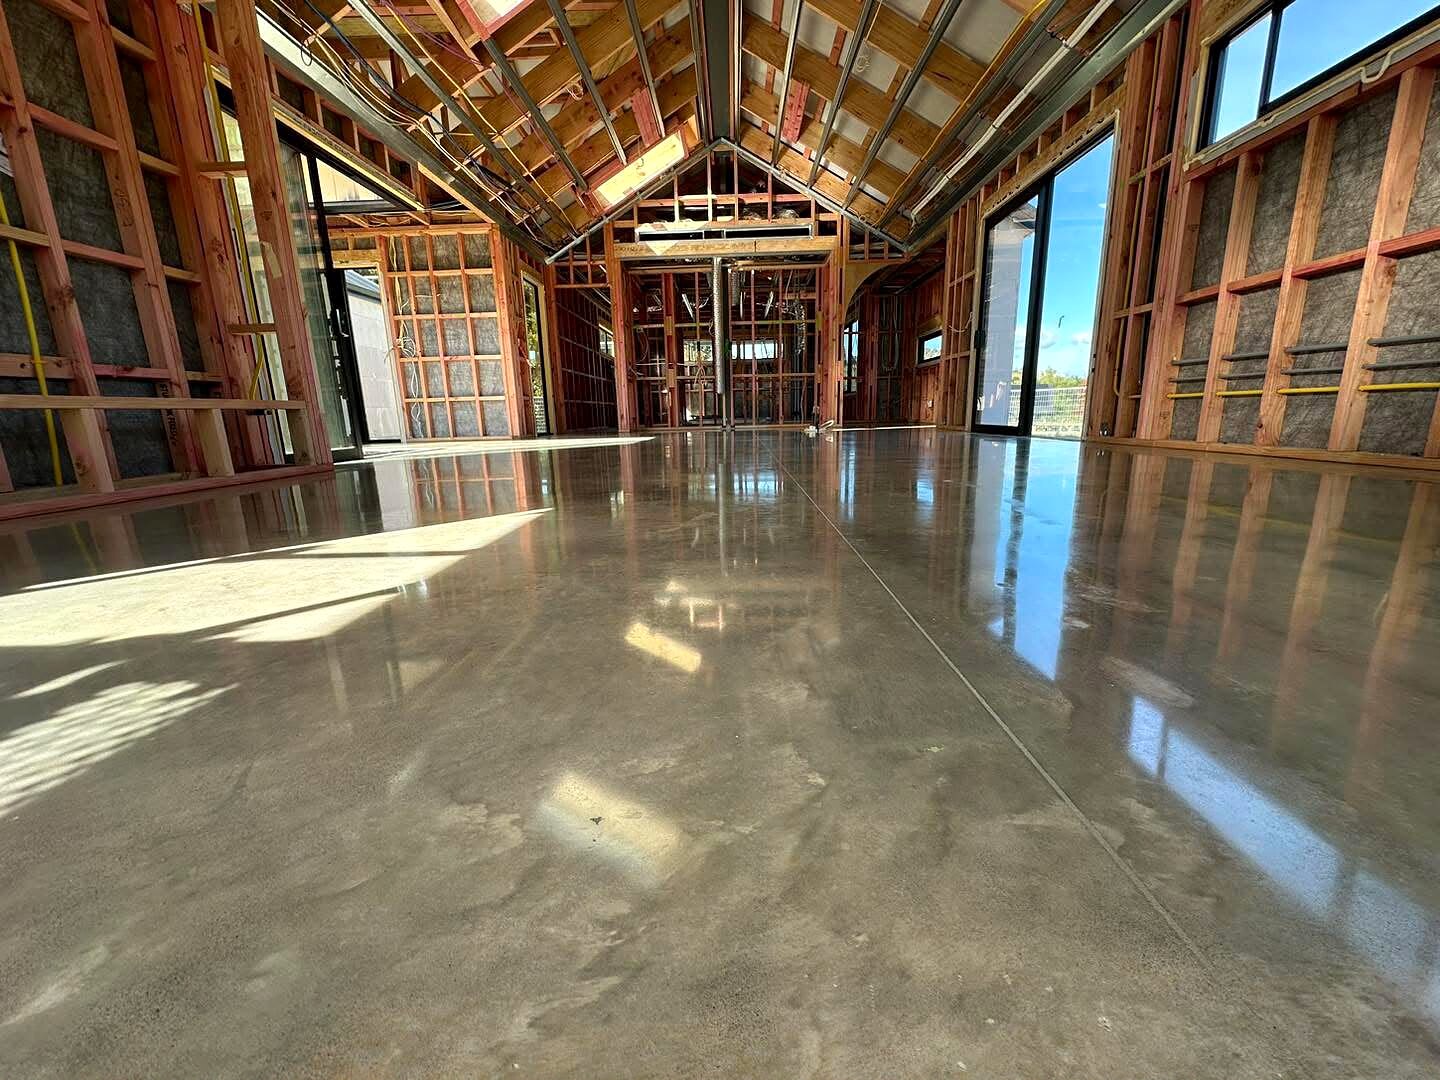
The best stage in the programme is once the building is watertight and the exterior joinery is installed, and before skirtings, kitchens and painting. Each half of that matters for a specific reason.
| Stage of build | What should happen | Consequence if missed |
|---|---|---|
| Design and pricing | Polished areas identified, exposure, colour and sheen nominated on the drawings | Quotes are not comparable and the client expects a floor nobody priced |
| Before the pour | Plans, colour, aggregate, sealer system and dates sent to the applicator | Colour cannot be added later and the programme has no curing period in it |
| Placement | Tight flatness tolerance, consistent depth and mix, even trowelling | Uneven exposure and trowel marks that no amount of grinding removes |
| Through the build | Slab covered, no ferrous, oil, adhesive or cutting over the floor | Permanent staining, removal costs, and a variation nobody budgeted |
| 28 days after pour | Slab is eligible for grinding, subject to conditions | Green concrete tears out aggregate and sealer fails to bond |
| Watertight, before fitout | Grinding and sealing booked, floor clear, power and water available | Detail work around cabinetry, delays, and a crew standing on site |
| After sealing | Floor protected and handed over with a maintenance regime | Damage during the final trades and a defect claim at handover |
A crew turning up to a floor that is not ready costs everyone. This is the list worth checking the day before.
This is the part that saves builders the most grief and it costs nothing. Polished concrete is not a manufactured tile or a sheet product. It is a natural material, poured on site, and variation is inherent to it. Aggregate distribution changes across a slab. Colour shifts subtly between loads. Trowel history shows. Saw cuts and joints are structural and stay visible.
A client told that at the start sees character. A client told it at handover hears an excuse. The conversation is the same conversation, and the only variable is when it happens. Show them a test grind or a sample tile, tell them plainly what is fixed and what is variable, and put it in writing.
It is also worth naming the maintenance regime early. A sealed floor needs a neutral cleaner and no acids, and it will want a maintenance coat somewhere in the five to ten year range. Handing that over as part of the documentation makes the floor look considered rather than fragile.
If you want a real number and a real programme slot from the first phone call, send this. Floor plans with the polished areas marked. The pour date, or the anticipated one. The exposure, colour and sheen if they are decided, and a note if they are not. The sealer system if the specification names one. Site address and access notes. And the dates the building is expected to be watertight and ready for fitout.
That is enough to price the job properly, book it into a programme that respects the 28 day minimum, and flag anything that is going to be a problem while it is still cheap to change.
Before the concrete is ordered. Colour is batched at the plant, aggregate is decided by the mix, and flatness is decided by the placing crew, so a conversation at that point changes the outcome. Contact at lock up stage is normal and still workable, it just means we are working with whatever the slab turned out to be.
It depends on area, depth of cut and how much edge and detail work there is. A typical house floor runs several days across grinding, honing, densifying and sealing, with curing time between stages during which the floor cannot be walked on. We give a day count with the quote once we have seen the slab.
Not while we are cutting or sealing. Grinding produces dust and noise, and fresh sealer needs a clean, undisturbed environment while it cures. The floor needs to be ours for the duration, which is why the slot between watertight and fitout works so well in a programme.
Tell us early and send photographs. Some contamination grinds out at normal depth, some needs a deeper cut that changes the exposure, and some, particularly oil and diesel, penetrates too far to remove. We will assess it and tell you plainly which of those it is before it becomes a dispute.
Not for most jobs. Single phase at the floor covers residential and small commercial work. Three phase lets us run larger machines on big slabs and speeds the programme up, so it is worth mentioning if it is available.
The main contractor, as with any other finished surface. Once the sealer has cured we recommend a breathable protective covering until handover, taped to the wall or the skirting rather than to the concrete. We will advise the appropriate product and the cure time before we leave site.
The fuller reference, with the pre pour checklist and specification pack.
Mix, curing, tolerances and sealer systems in specification language.
What we deliver on site, and how the programme usually runs.
Price a floor
A few pertinent questions about your slab and space.
Step 1 of 6
Your own slab answers more than another thousand words.
Site assessment and written quote, no obligation.

Tell us about the slab and we will tell you what it can do.
Site assessment and written quote, no obligation.