Renovation

Problems
Approved PeterFell C2 Applicator
Approved TextureSafe Applicator
Twenty-Five Years Combined Experience
Grinding Dynamics
Published 16 August 2026 · 9 minute read
Patchiness is the single most common complaint we get called about, and almost every time the owner assumes the polishing was done badly. Occasionally that is true. Far more often the floor is telling you exactly what happened to it during construction, and the grinder has simply removed the surface that was hiding it.
This is worth understanding before you commission a polished floor, because it changes what you should be asking for at the pour rather than at the polish. Concrete is not a product you specify off a chart. It is a site made material, and every decision made around it while it is wet is still in the floor years later.
When people say patchy they usually mean one of four different things, and they need separating because they have different causes and different answers. There is variation in how much stone is showing, so one area reads as speckled and another reads as plain grey. There is variation in colour, where two areas of the same exposure are noticeably different shades. There is variation in sheen, where the floor looks glossy in one spot and dull in another. And there is defined marking, meaning swirls, arcs, dark bands or a rectangle where something once sat.
Exposure variation is the one people notice most on a new polished floor. Colour variation is the one people notice most on an existing slab. Sheen variation is usually a sealing or a burnishing issue and is the most fixable of the four. Defined marking is contamination, and it either grinds out or it does not.
Most patchiness comes from the slab, not the polish.
A grinder is a flat plate spinning across a floor. It cuts the high points first and it does not reach the low points until the high points have come down to meet them. That is the whole mechanism, and it is why flatness at the pour is the single largest control you have over how even a polished floor looks.
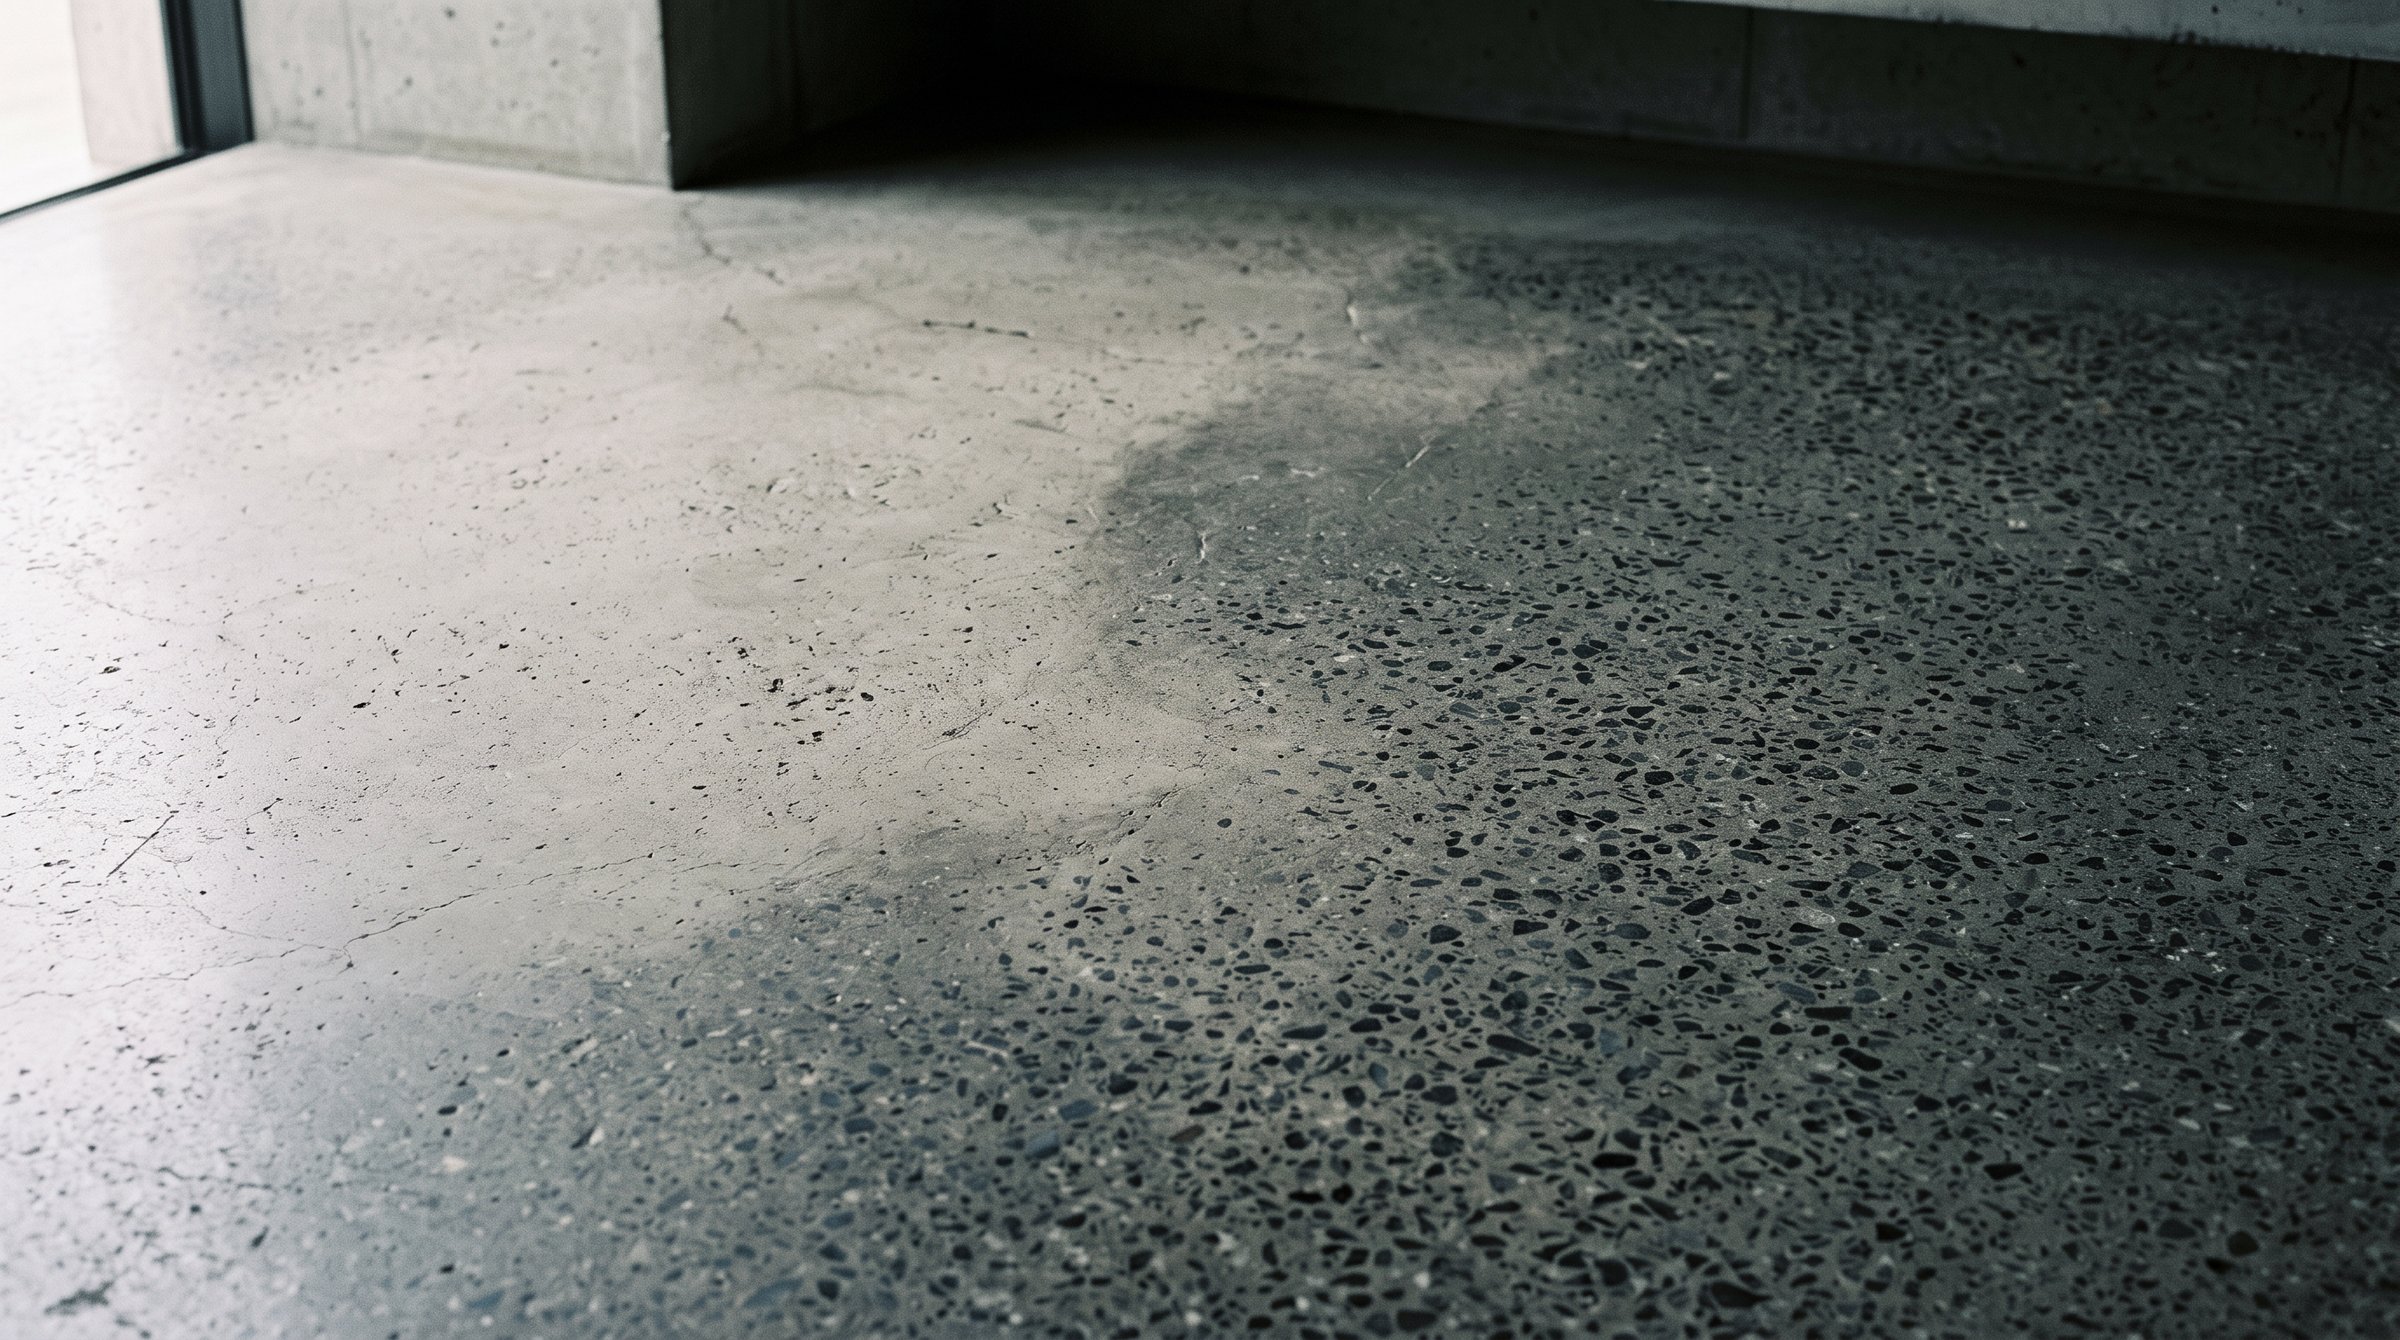
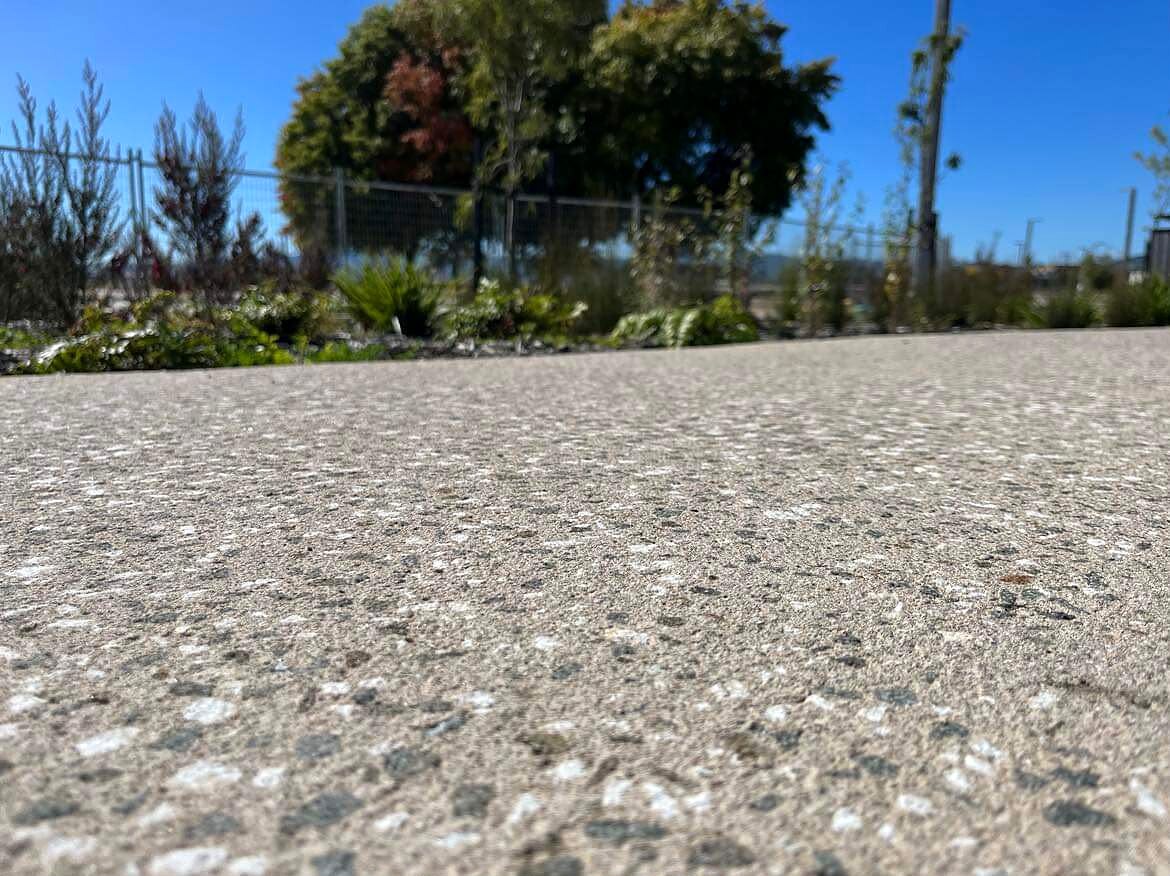
Take a slab with three millimetres of fall and rise across a room, which is not unusual and would pass without comment under a floor covering. Grind that floor to a salt and pepper exposure and the high areas will be cut two to three millimetres deep, showing sand and stone tips. The low areas will barely be touched, so the cement cream is still there and the surface reads as plain. Same room, same machine, same operator, same day, two completely different looking floors.
The same slab reads differently at every depth. What is showing here is a function of how much material came off.
If a polished floor is in the plan, say so before the concrete is ordered and ask the placing crew for a tighter flatness tolerance than they would normally work to. It costs a little more at the pour and it saves considerably more later. A laser screed on a large slab, or a careful hand finish on a house, does more for the final look than anything we do afterwards.
Power trowelling closes the surface of the concrete. Where the blades work harder or dwell longer, the cement paste is compacted more tightly and densified more than the surrounding area. That difference in density is invisible on a raw slab and becomes visible the moment you start cutting, because harder paste resists the diamonds and polishes to a different sheen than softer paste beside it.
This is where the sweeping arcs come from. They follow the path the machine took. A light cut leaves them plainly visible. Cutting deeper takes the whole densified layer off and removes them, but that means committing to an exposure with stone in it, which is a different floor to the one that may have been specified.
Burnished bands work the same way. If a crew has run a trowel over an area a second time to bring back a spot that was drying faster, that area is a different surface to the rest of the slab and it will read differently under a light polish.
Concrete is batched in truck loads. Two loads from the same plant on the same morning can carry slightly different water content, slightly different cement, and if the pour was delayed, different placement conditions. On a large slab that shows as a soft change in tone across the floor, sometimes with a visible line where one load met the next.
Coloured concrete makes this more pronounced, not less. Oxide is dosed per cubic metre and a small dosing variation is easy to see once the surface is cut and sealed. It is why we tell clients ordering a coloured slab to keep the whole pour to a single day and, where the volume allows, a single plant.
Nothing about this is a defect. It is a characteristic of a poured material, the same way grain variation is a characteristic of timber. It is only a problem when nobody was told to expect it.
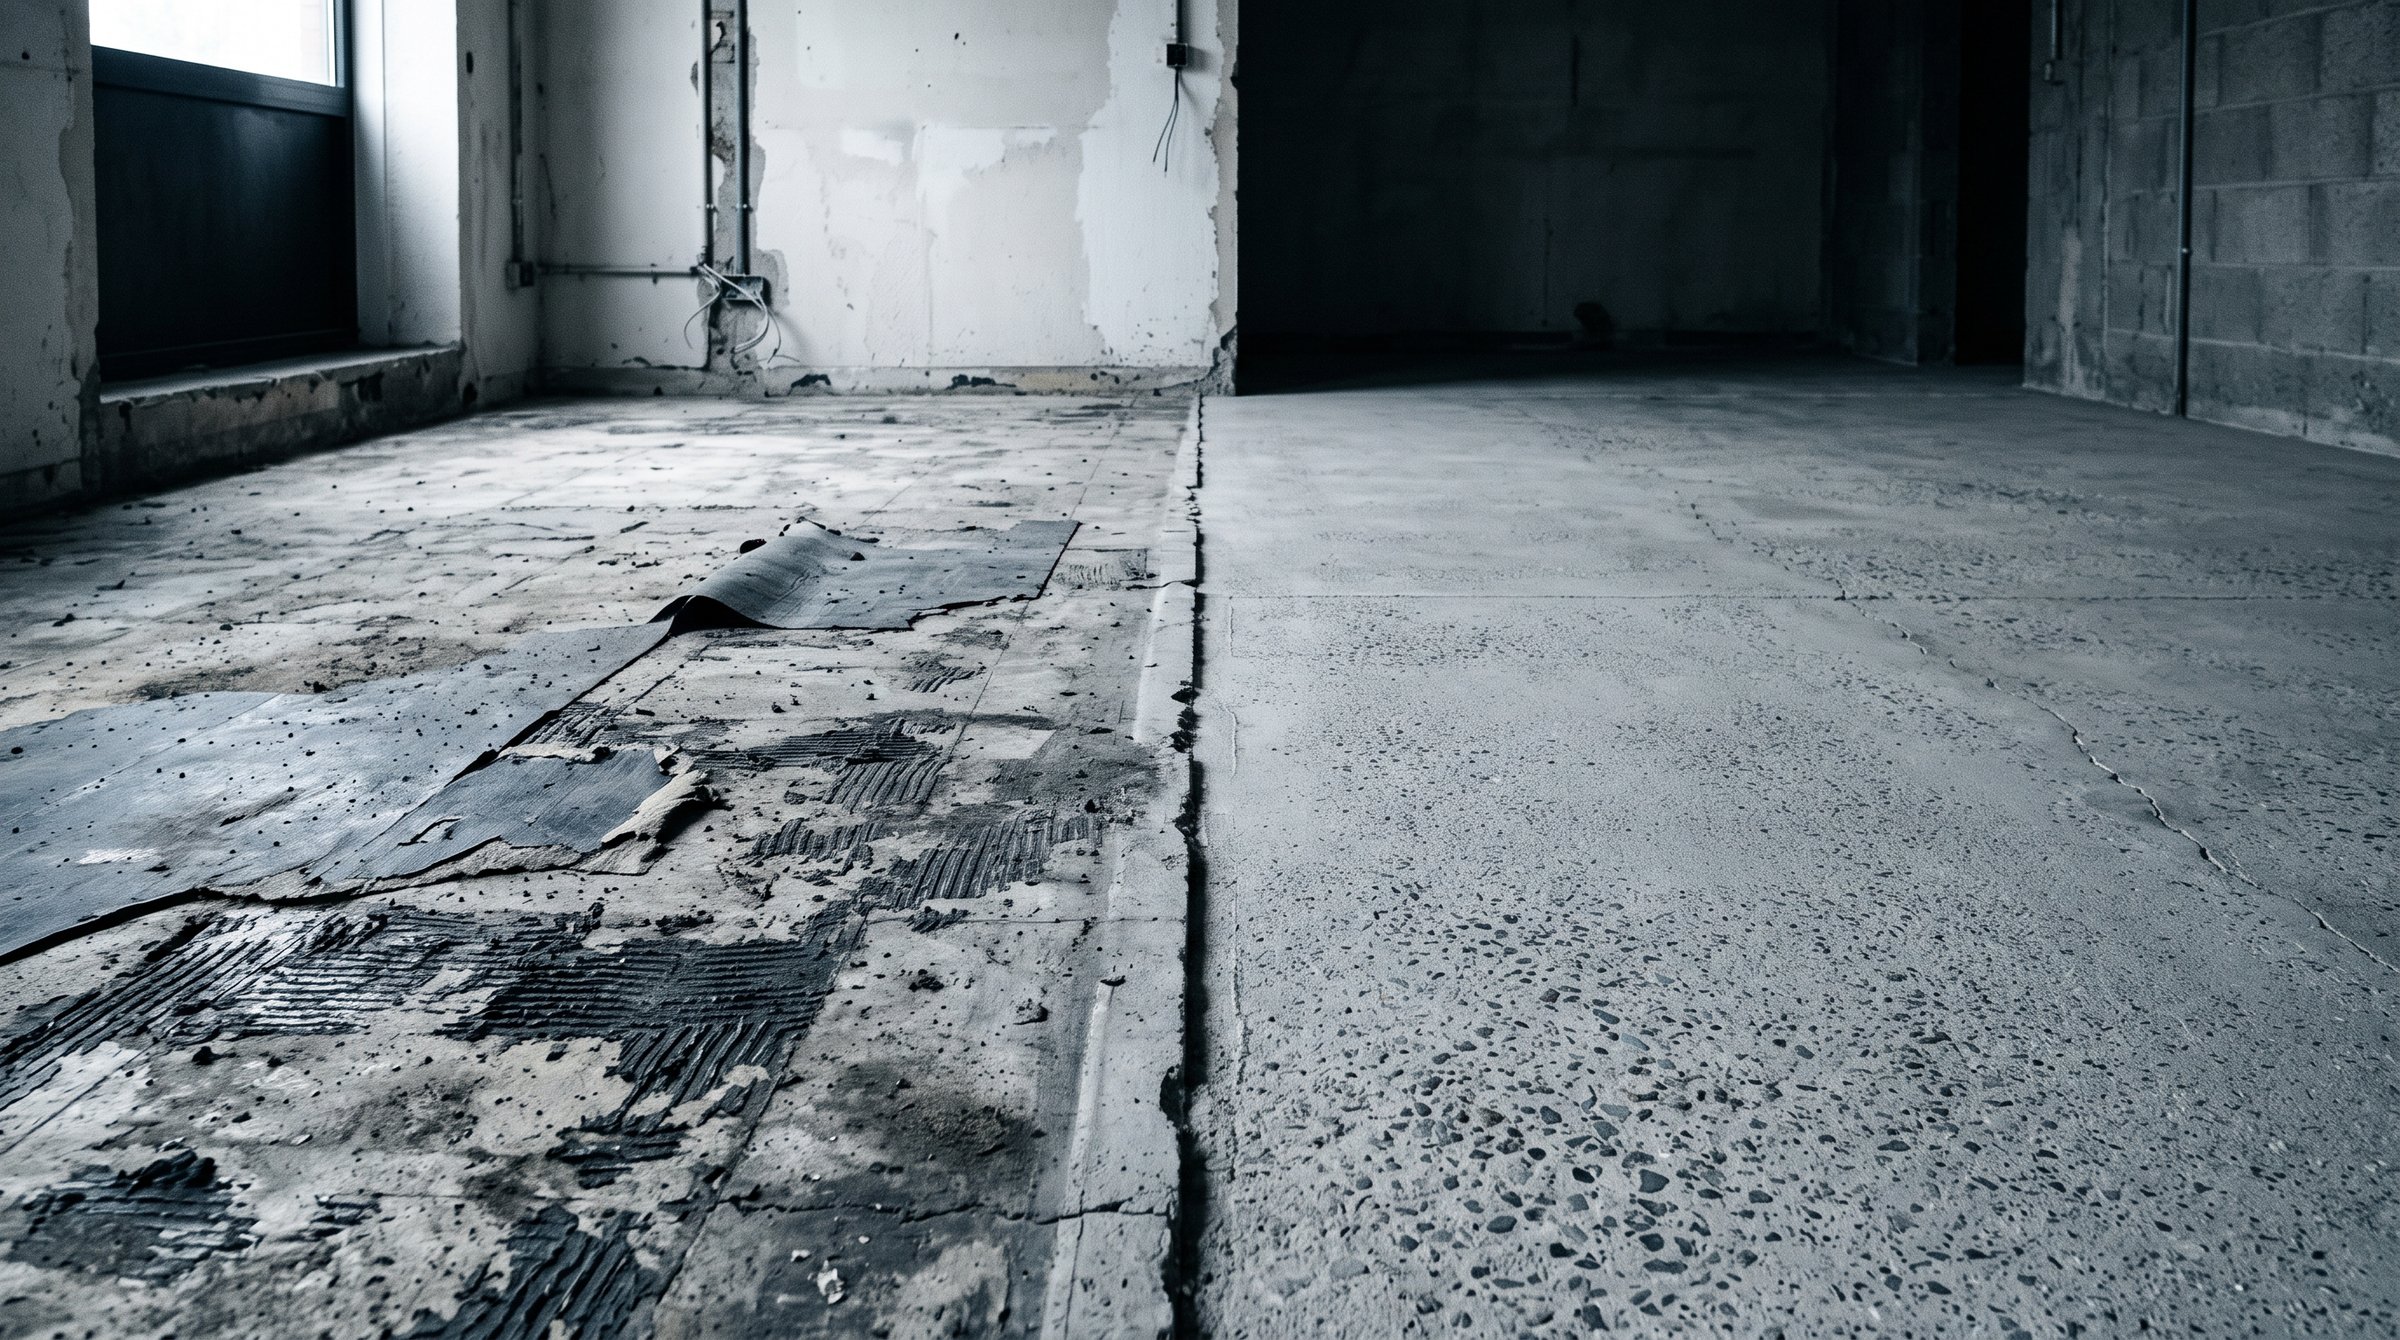
A slab spends months as the working floor of a building site before it becomes the finished floor of a building. Everything that lands on it in that time is a candidate for a patch.
The instinct with a bad area is to patch it. On a floor that is going to be covered, that is correct. On a floor that is going to be polished, it is almost always the wrong call.
Patch material is a different mix to the slab. It has different cement, different sand, different aggregate and a different age. Grind through it and it cuts at a different rate, shows different stone and takes sealer differently. You have converted a soft patch into a hard edged rectangle that catches your eye every time you walk into the room.
There are exceptions. Structural repairs happen regardless. Crack filling is normal and expected, because a filled crack reads as a fine line rather than a shape. But cosmetic patching of a floor that is going to be polished should be discussed with us before it happens, not after.
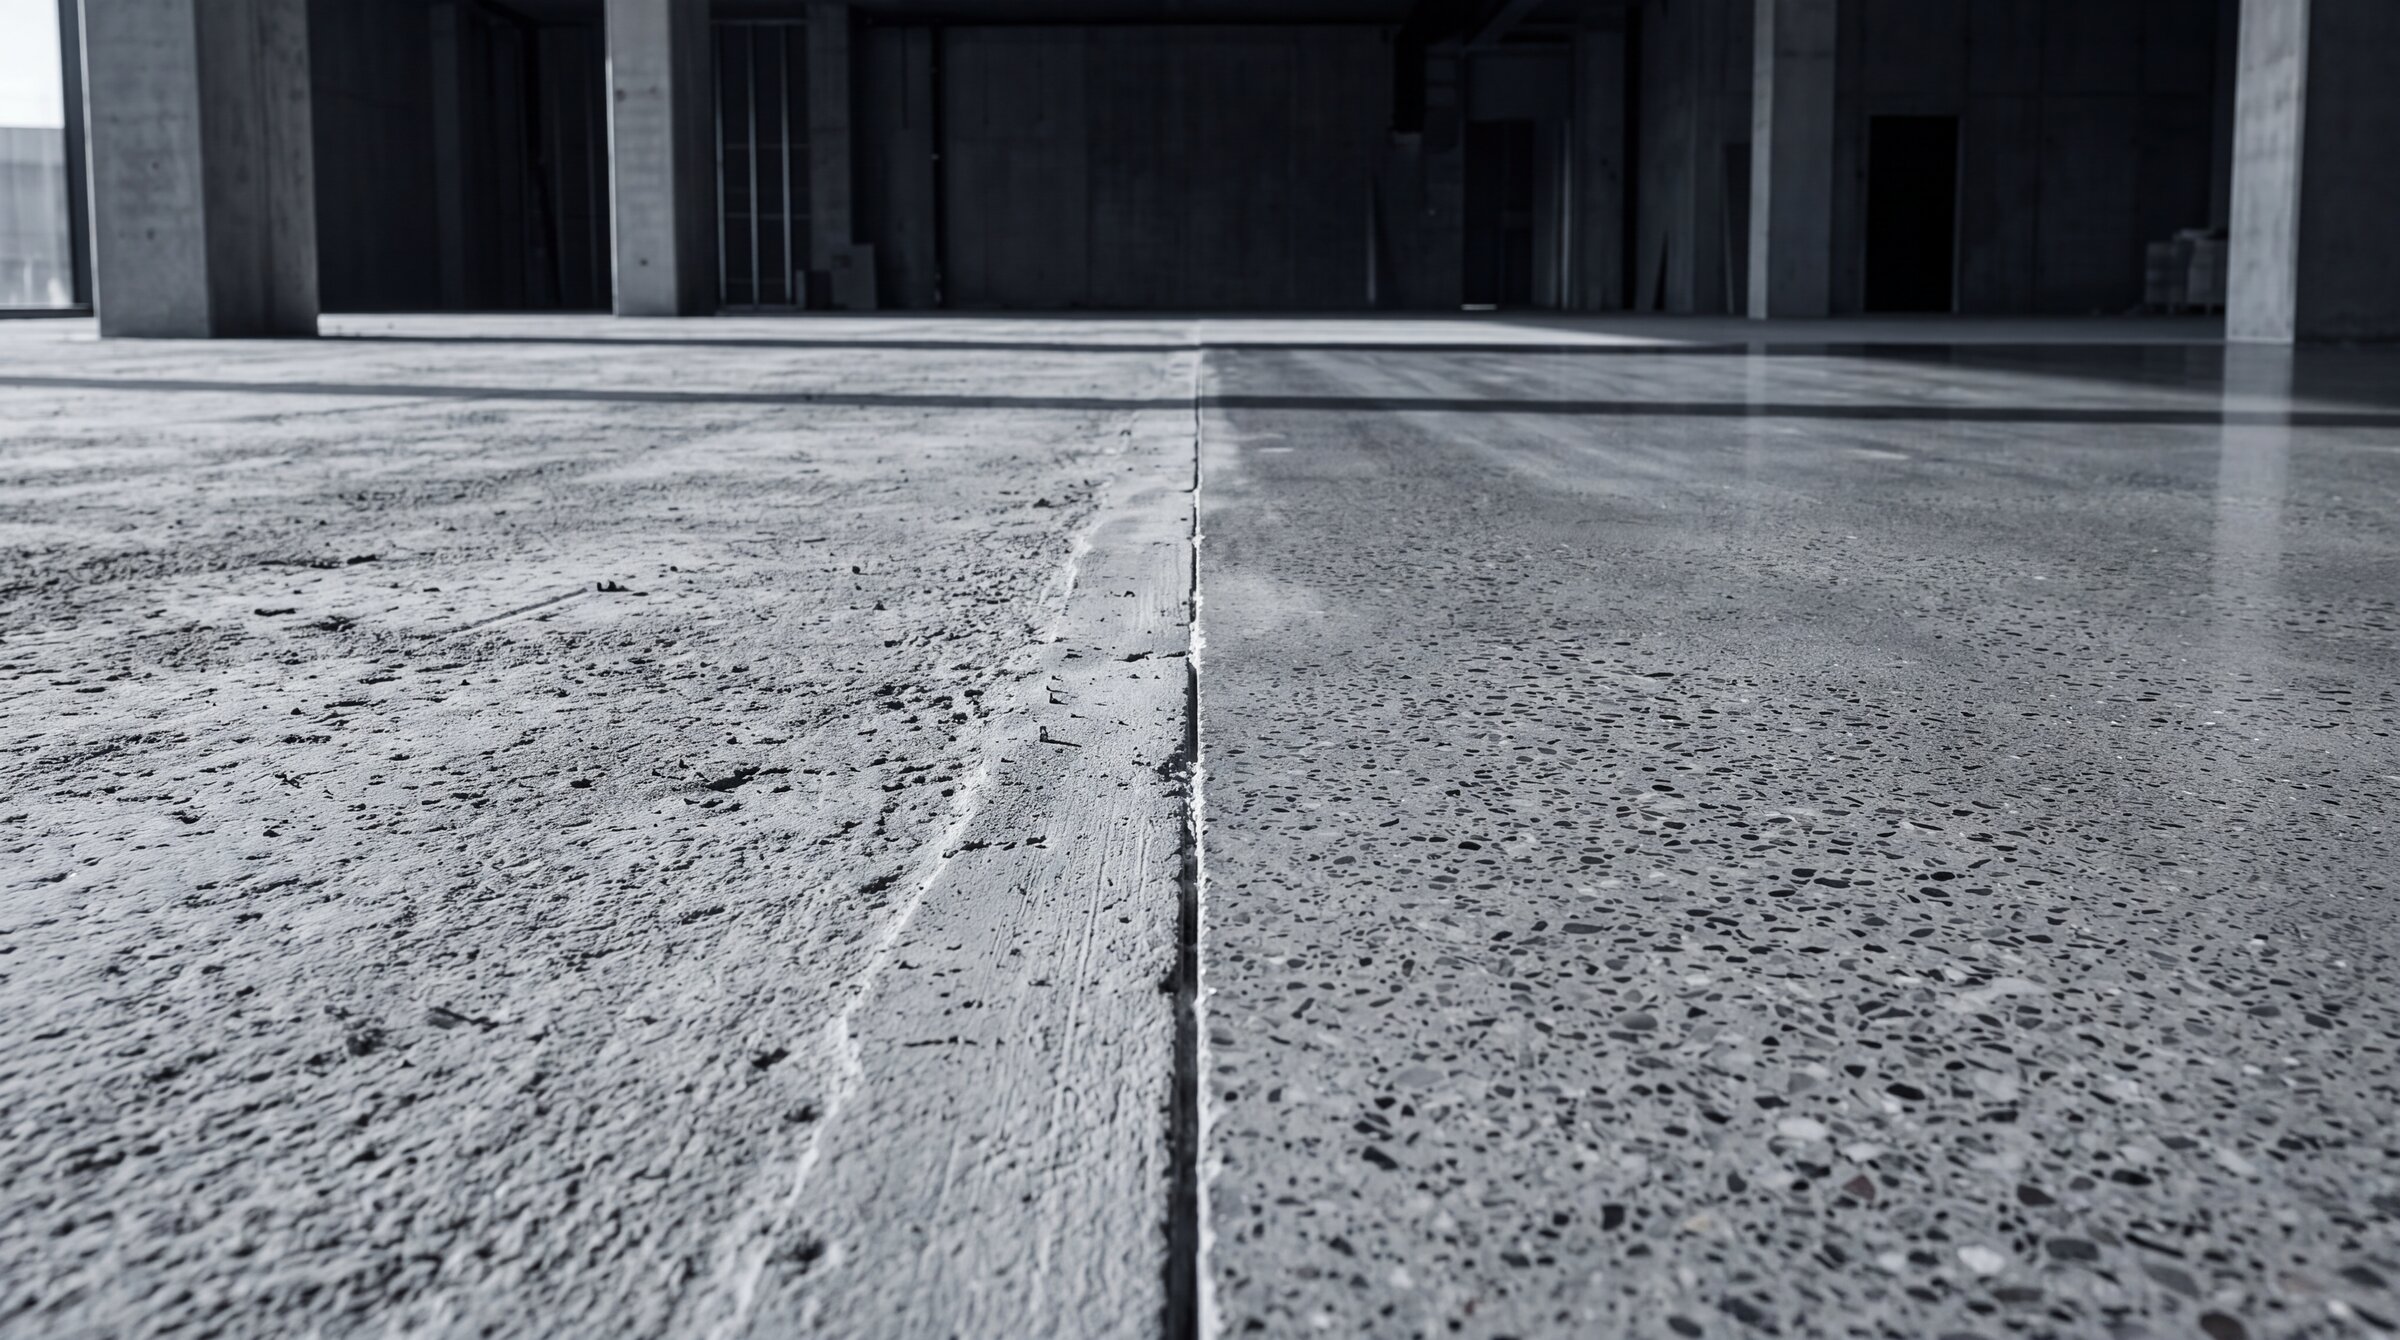
Depth of cut is the main lever we have. Every millimetre changes both the evenness and the character of the floor.
Cutting deeper genuinely does blend variation, and the reason is simple. Near the surface you are looking mostly at cement paste, and paste is where the colour differences, the trowel densification and most of the staining live. Go down two or three millimetres and you are looking mostly at sand and stone, which was mixed uniformly and is far more consistent across the whole slab. More stone showing means less paste showing, which means less of the variable material is visible.
That is a real trade off, and we state it plainly every time. A deeper cut is not a repair. It is a different floor. A client who wanted the quiet, near plain look of a natural polish and ends up with a medium exposure full of stone has an even floor they did not ask for. Sometimes that is the right answer. Sometimes the honest answer is that the floor will carry some variation and should be accepted as a poured surface.
There is also a hard limit. Concrete has a finite depth of good material above the reinforcement and any services in the slab. We do not chase a stain down through cover steel. Where a mark sits deeper than we can safely cut, we say so.
| Cause | What it looks like | Can grinding fix it |
|---|---|---|
| Slab out of level | Speckled high areas beside plain low areas, often following the fall of the room | Partly. Cutting to the low points evens it out but forces a deeper exposure than may have been specified |
| Trowel and helicopter marks | Sweeping arcs and swirls, more visible under raking light | Yes, once the cut passes the densified paste layer, roughly one to two millimetres |
| Colour variation between loads | Soft change in tone across the floor, sometimes with a line at the join | Partly. A deeper cut reduces it because less paste is showing, it rarely removes it |
| Oil or diesel contamination | Dark irregular blotches that darken again after sealing | Often no. It penetrates and can persist below the depth we can safely cut |
| Glue, plaster and tape residue | Hard edged outlines and shadows in the shape of what sat there | Usually yes. Most sits in the top millimetre |
| Rain damage on a fresh pour | Pitting, sandy patches and eroded surface in defined areas | Sometimes. If the erosion is deeper than the cut, texture remains |
| Cosmetic patch repairs | A rectangle of different colour and stone content | No. It grinds to a different result and stays visible |
| Uneven sheen after sealing | Glossy in traffic paths, dull elsewhere | Yes. This is a burnish and re-seal issue rather than a grinding one |
Every line here assumes a sound slab with adequate cover. What is achievable on your floor is confirmed by a test grind, not by a table.
We will not tell you what your floor will look like from a photograph, and we would be suspicious of anyone who does. The only way to know how a slab takes a grind is to grind a piece of it.
A test grind is a small area, usually a square metre, cut in steps so you can see the same concrete at successive depths side by side. It shows you the aggregate that is actually in your slab, how the colour reads once the surface is off, whether the trowel marks clear, and how deep we need to go to get an even result. It takes an hour or two, and it converts a conversation about expectations into a decision made in front of the evidence.
On a new build we do that before the floor is signed off in the specification. On an existing slab we do it in a cupboard, under where an island will sit, or in a corner of a garage, so the trial area is out of the finished view.
Usually not. Variation that comes from the pour, from load to load colour change or from slab levels is a characteristic of a site made material. It becomes a defect when the polishing work itself is inconsistent, meaning missed passes, visible machine tracks or an uneven sealer coat. Those are our responsibility and we fix them.
Often yes, by cutting deeper. That reduces variation because more stone and less cement paste is showing, but it changes the character of the floor to a heavier exposure. We grind a test area first so you can see both the improvement and the change before agreeing to it.
No, it does the opposite. Sealer saturates the surface and increases contrast, so anything visible on the dry ground floor becomes more visible once it is sealed. Wet the floor with water to preview roughly what the sealed result will look like.
Raking light. Low sun across a floor exaggerates every difference in flatness and sheen, which is why a floor can look even at midday and marked at four in the afternoon. Assess a floor under the light conditions you will actually live with.
Not exactly. Patch material has different cement, sand and aggregate to the original slab and it will always cut and seal differently. Where a repair is genuinely needed we do it and blend it as far as the material allows, and we tell you it will remain visible.
A tighter flatness tolerance than the standard for a covered floor, a single day pour where the volume allows, consistent finishing across the whole slab, and no second passes on isolated areas. Tell them the floor is going to be polished before they price it.
Test grinds, depth decisions and progressive cutting on your own slab.
Old coatings, glue and surface damage taken back to sound concrete.
See what each depth of cut actually looks like before you choose one.
Price a floor
A few pertinent questions about your slab and space.
Step 1 of 6
Your own slab answers more than another thousand words.
Site assessment and written quote, no obligation.

Tell us about the slab and we will tell you what it can do.
Site assessment and written quote, no obligation.