
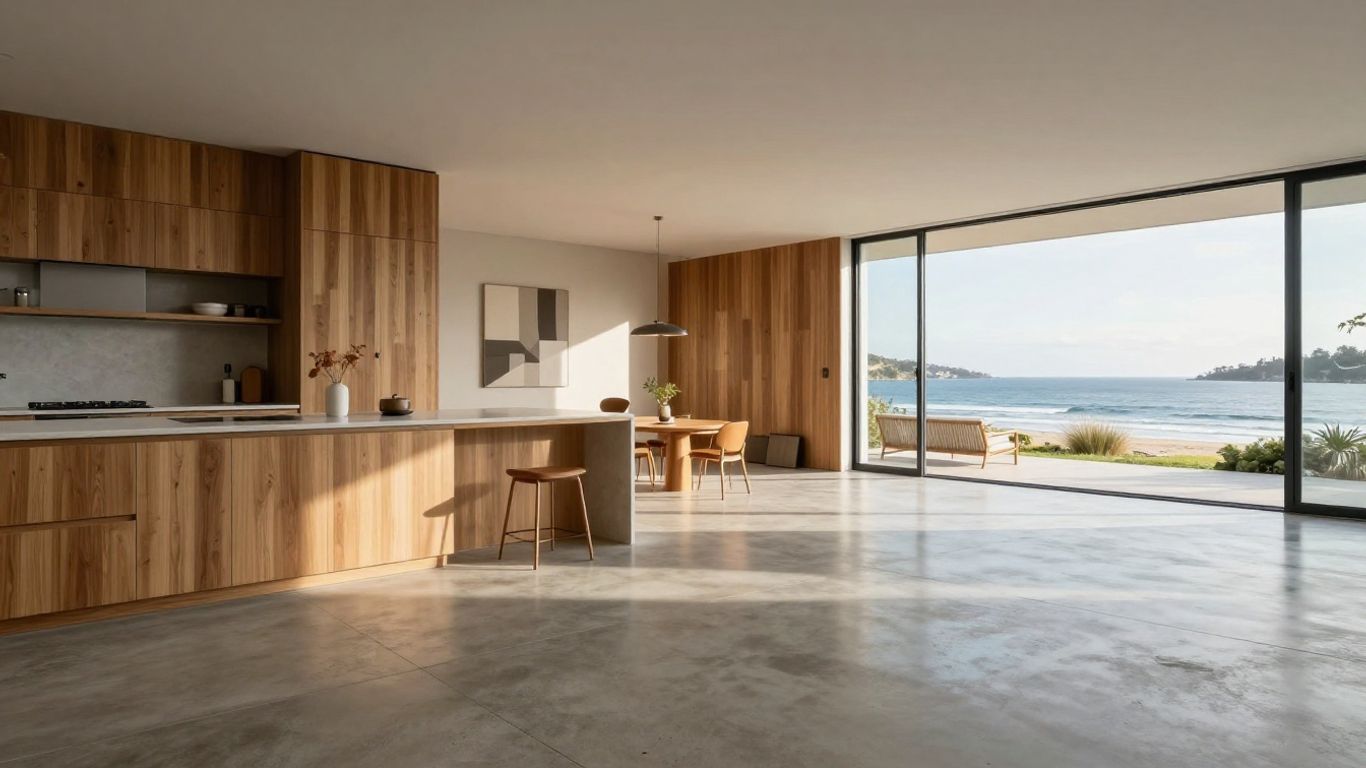
Polished concrete Tauranga: A complete guide to finishes, costs, and installation
Polished concrete Tauranga: compare finishes, costs, preparation, contractors, and care for lasting floors.
Published 25 August 2026
Key Takeaways
Polished concrete Tauranga projects can suit new builds, renovations, commercial spaces, and civic interiors when the slab and finish are assessed realistically.
- The existing slab, concrete mix, curing, and workmanship strongly influence the finished appearance.
- Aggregate exposure, depth of cut, color, and polish level should be decided together.
- A test grind on the customer’s own concrete is more useful than relying on photographs alone.
- Project cost depends on slab condition, access, edges, repairs, layout, and the selected finish.
- Good cleaning habits, sensible protection, and timely maintenance help preserve the floor.
Understanding polished concrete floors in Tauranga
Polished concrete is concrete finished through a sequence of grinding, densifying, refining, and sealing rather than a separate floor material being installed over the slab. In Tauranga, the final character may reflect the local aggregate, the original pour, and the way the slab was placed and cured. That natural variation is part of the appeal, but it also means the floor should be assessed before a finish is promised. For a practical overview of local polished concrete work, Grinding Dynamics explains how an existing slab can be refined into a finished surface for residential, commercial, and civic projects.
What polished concrete is and how the process works
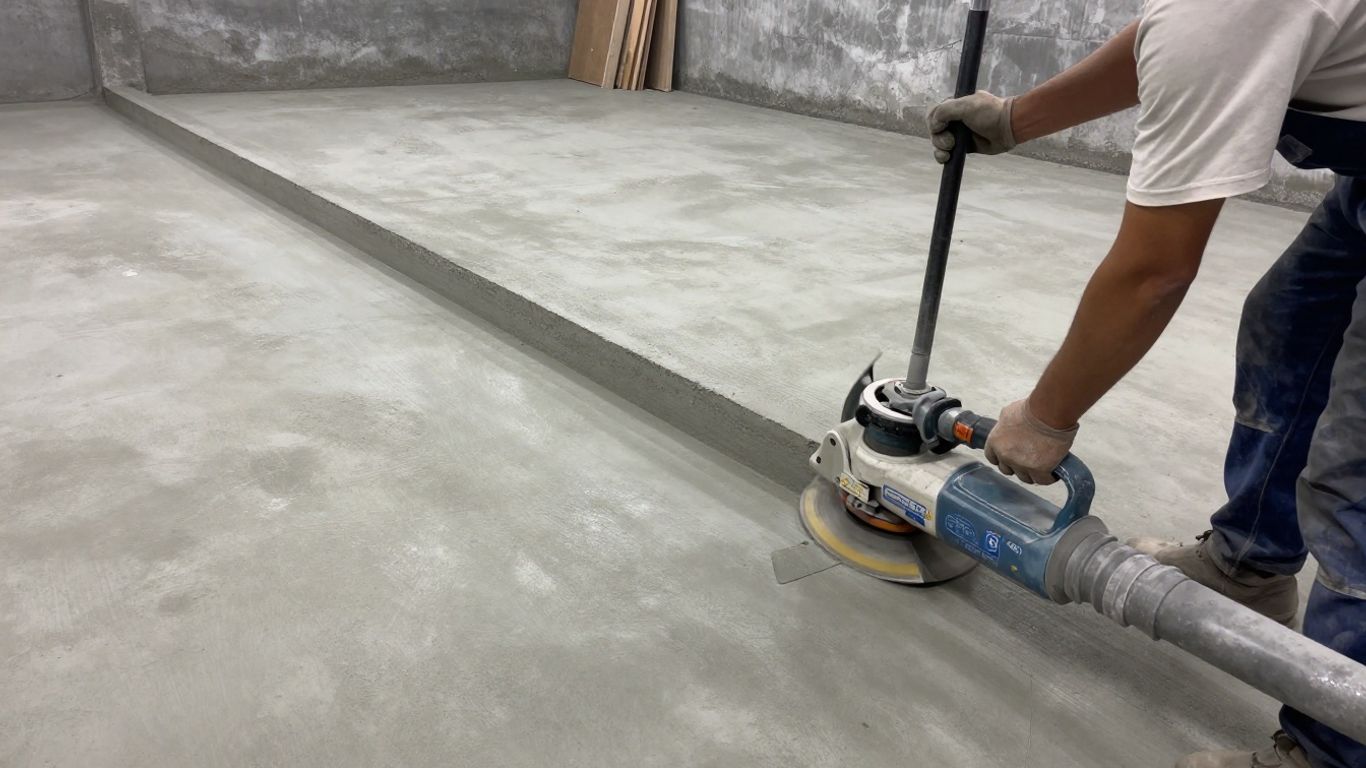
Diamond tooling cuts the concrete surface to the selected depth, exposing some or all of the aggregate depending on the desired appearance. The surface is then worked with progressively finer tooling, chemically densified so the cement matrix hardens, and sealed for the room’s conditions. The slab itself remains the finished floor, so the outcome depends on what is present beneath the surface rather than on a printed sample alone.
A suitable sequence normally begins with a site assessment and a small test area. That test can reveal aggregate, color variation, repairs, trowel marks, and contamination before the whole floor is committed. New concrete also needs adequate curing time; a minimum age of 28 days before polishing is a useful planning point, subject to the project assessment.
How polished concrete differs from sealed or burnished concrete
Ground and polished concrete is refined with diamond tooling until the chosen level of smoothness and sheen is achieved. Ground and sealed concrete may have less refinement and rely more visibly on the sealer for protection and appearance, while burnished finishes use mechanical action to close and polish the surface without necessarily creating the same depth of cut or aggregate exposure. These terms can be used differently by contractors, so a quote should describe the actual preparation, refinement, densification, and sealing steps.
The distinction matters when comparing samples. A glossy sealer can make a floor look finished, but it does not tell you how deeply the slab was cut or how the surface will wear in traffic lanes. Ask which parts of the result come from the concrete itself and which come from the sealer.
Common residential and commercial applications
Polished concrete can work across open-plan living areas, kitchens, entries, showrooms, hospitality spaces, offices, and selected civic interiors. Its continuous appearance suits large floor plates, while the underlying slab can connect spaces without the grout lines associated with tiled floors. Existing garages, warehouses, and interior slabs may also be candidates if their condition and contamination levels are suitable.
Use should guide the specification. A family kitchen, retail floor, and public entry may need different decisions about sheen, stain resistance, edge detailing, cleaning, and wet grip. A polished interior floor should not automatically be carried into an exposed pool surround or another area where texture is needed when wet.
Benefits and limitations for local properties
A well-prepared polished concrete floor can be durable, straightforward to clean, and visually calm. It can also make use of an existing slab instead of requiring a completely new floor covering. Concrete’s thermal mass may be useful in some buildings, although comfort still depends on insulation, sunlight, ventilation, and the wider design.
The limitations are just as practical. Existing cracks, unevenness, patching, color shifts, and previous coatings may remain visible or influence the final result. Hard floors can also transmit sound and may feel cool in certain conditions. The slab sets the ceiling for what polishing can achieve, so honest assessment is more valuable than a guarantee of a perfectly uniform appearance.
Choosing the right polished concrete finish
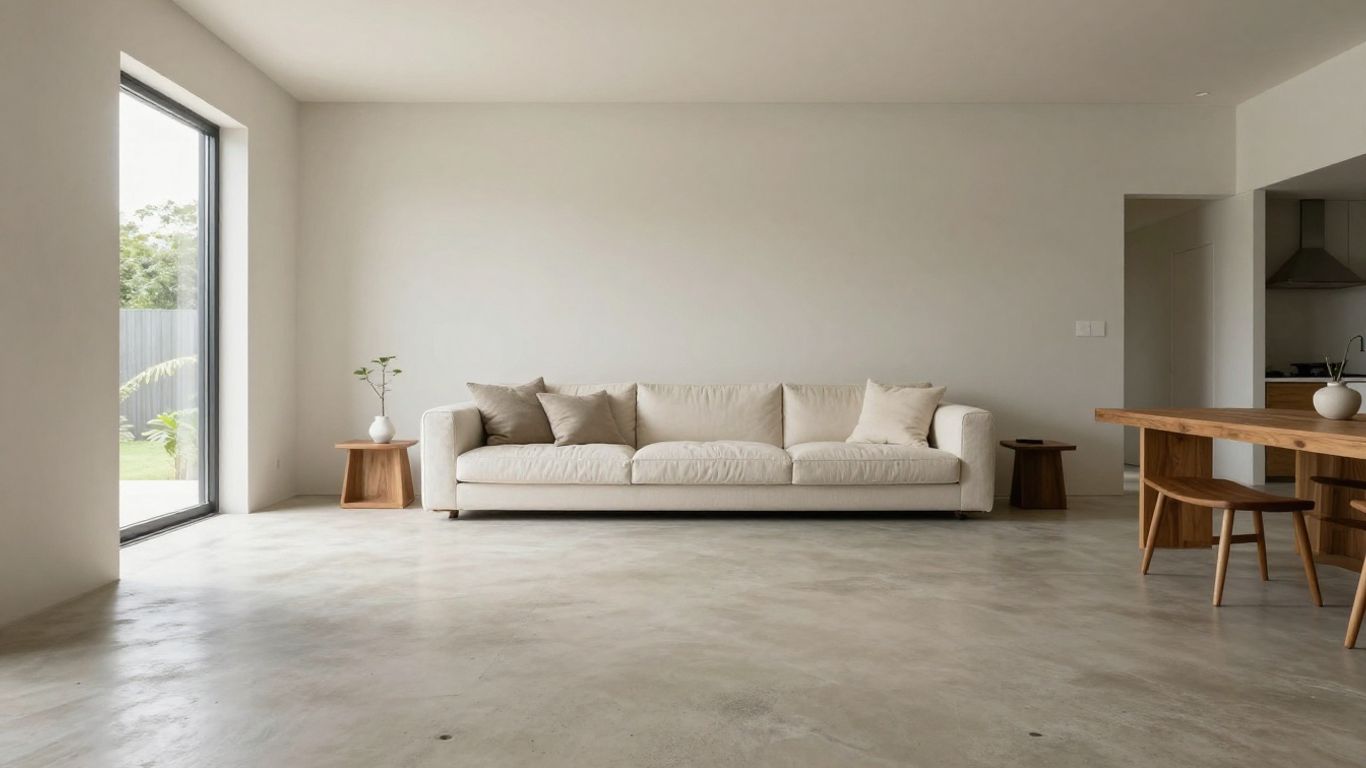
Finish selection is not simply a choice between “shiny” and “not shiny.” The look is shaped by color, aggregate, depth of cut, and polish level, with the sealer influencing the final tone and protection. A physical sample from the actual slab is the safest way to judge these decisions. It is especially useful where a homeowner, designer, builder, or client needs to approve the floor before work proceeds.
Selecting aggregate exposure levels
Aggregate exposure describes how far the surface is cut into the slab. A light cut can produce a subtle salt-and-pepper effect, while a deeper cut reveals more of the stone and creates a stronger terrazzo-like pattern. The aggregate may be rounded or angular, and the colors and sizes present in the original mix cannot be selected after the slab has been poured.
A test grind is therefore essential for an existing floor and valuable for a new one. Local aggregate guidance explains why the sand and stone within a Bay of Plenty concrete mix can have such a strong effect on the finished appearance. If the floor needs a bold visual treatment but the existing slab cannot provide enough suitable aggregate, the design may need to change or a new topping may need to be considered.
Comparing gloss, satin, and matte finishes
Gloss reflects more light and can make a space feel crisp, but it may also show dust, reflections, and surface variation more readily. Satin offers a quieter balance, while matte finishes reduce reflection and often feel more restrained in residential or hospitality settings. The right choice depends on lighting, furniture, traffic, cleaning expectations, and the character of the slab.
Sheen should also be judged on a sample under the lighting used in the room. A finish that looks calm in a shaded workshop may read differently beside large windows or strong downlights. For wet areas, appearance must not replace the separate question of whether a textured, grip-focused surface is required.
Using stains, dyes, and decorative effects
Color is normally determined in the concrete mix before placement, not simply added as a surface treatment after the slab exists. Cement type, aggregate, depth of cut, and sealer can all alter the tone that is eventually seen. Existing slabs can sometimes be colored or visually adjusted, but such work should be discussed as an alteration with its own limits rather than treated as a complete reset of the concrete.
Decorative effects can include carefully selected exposure, seeded aggregate in suitable new work, borders, or changes in sheen. They should be tested physically because screens and generic photographs cannot reproduce the precise combination of local stone, cement, light, and sealer.
Matching the finish to your interior style
A natural, lightly exposed floor can sit comfortably with timber, linen, plants, and warm painted walls. Heavier exposure and stronger contrast may suit a gallery-like retail interior, while a soft satin finish can support a quieter residential palette. The floor should complement the room rather than compete with every other material in it.
Bring samples of cabinetry, tile, stone, and paint to the approval stage. Looking at the concrete alongside the other finishes often reveals whether the aggregate is too busy, the sheen too strong, or the color too cool for the intended space.
Preparing a Tauranga property for installation
Preparation begins well before a grinder arrives. The team needs to understand whether the slab is new or existing, what has been laid over it, how accessible the work area is, and whether moisture or construction activity could compromise the process. Tauranga’s coastal conditions make careful building enclosure and site protection particularly sensible, though every property still needs its own assessment. Early communication can prevent design choices from being made after the relevant stage of the build has passed.
Assessing the existing concrete slab
An existing slab should be checked for age, flatness, cracks, previous coverings, glue, paint, oil, and other contamination. The inspection should also consider how much material can be removed without exposing an unsuitable surface. A small test patch can show the likely aggregate, color, depth of cut, and response to refinement more accurately than a stock photograph.
Not every slab will produce the same result. A floor that has been covered for years may polish well once adhesive is removed, while severe contamination, structural movement, or extensive repairs may call for a different treatment. Existing slab assessment offers useful context for deciding what can and cannot be changed through polishing.
Repairing cracks, joints, and surface damage
Cracks and joints are part of the slab’s history and may remain visible after polishing. Stable non-structural defects can sometimes be repaired or filled, but repairs may show as part of the finished pattern. Moving cracks, settlement, weak areas, and major differences in level need to be understood before choosing a finish or promising a seamless appearance.
The repair approach should match the floor’s intended use and visual tolerance. Overfilling every mark can sometimes create more noticeable patches than leaving selected variation visible. The key is to agree on an acceptable result after a test area, not to assume that every imperfection will disappear.
Managing moisture and humidity concerns
Moisture can affect curing, sealing, adhesion of compatible treatments, and the way a floor is used after completion. The building should be sufficiently weather-tight, and wet trades, leaks, and ground moisture should be dealt with before finishing work. A contractor may recommend appropriate moisture checks or changes to the program when conditions are uncertain.
Sealer selection also belongs in this conversation. Interior floors, driveways, patios, and exposed aggregate surfaces can have different requirements, and coastal salt exposure may affect exterior maintenance. A sealing assessment should match the surface and location rather than defaulting to one product for every application.
Planning access, dust control, and disruption
Grinding is a working process, so access, power, protection, ventilation, and nearby trades need to be planned. Modern dust-controlled equipment can reduce airborne dust, but the work area still needs sensible isolation and cleaning. Occupied buildings require a clear discussion about furniture, doors, thresholds, noise, and safe routes around the active floor.
A practical pre-start plan should cover four basics:
- Clear access for people, tools, and material handling.
- Protection for walls, joinery, appliances, and finished surfaces.
- Separation from wet trades and activities that could contaminate the slab.
- A realistic sequence for grinding, sealing, curing, and reoccupation.
These details affect both the working experience and the reliability of the finished floor. They are worth settling before the first grind rather than improvising around equipment and wet sealer.
Understanding polished concrete costs
Polished concrete pricing cannot be reduced reliably to a single square-meter figure. Two floors of the same size may need very different amounts of removal, repair, edge work, waste handling, and refinement. A new slab planned around the finish is usually easier to assess than an old floor hidden beneath adhesive or multiple coverings, but neither should be priced responsibly without understanding the conditions. For a detailed local breakdown, the polished concrete cost guide discusses slab condition, sheen, access, waste disposal, layout, and test grinding.
Factors that influence the project price
The selected depth of cut and polish level are major variables, but they are only part of the estimate. Area, room shape, existing coatings, slab repairs, edge length, access, protection, travel, disposal, and the required sealer can all affect the total. Small rooms may also cost more per square meter because setup and edge work are spread across less floor area.
A useful quote should explain what is included instead of hiding every variable behind one attractive rate. It should identify the assumptions about the slab and state what happens if testing reveals additional contamination, damage, or preparation work.
Comparing new slabs with existing-floor renovations
New work provides an opportunity to coordinate concrete color, aggregate, placement, flatness, curing, and the construction sequence before the pour. Existing-floor renovation begins with whatever the property already contains, including old repairs, unevenness, staining, and unknown mix characteristics. That does not make renovation unsuitable, but it makes a test area and realistic expectations especially important.
For a new build, involve the finishing specialist early enough to discuss the pour and site rules. For a renovation, allow time for removal of coverings, cleaning, assessment, and possible repairs before the final finish is selected. In both cases, the floor’s character should be approved from a relevant physical sample.
Accounting for edges, stairs, and difficult areas
Large open floor areas are generally more efficient to grind than narrow hallways, small cupboards, stair treads, vertical edges, or areas around fixed joinery. These locations may require smaller equipment, hand work, special protection, or a different detail. Transitions to other floor materials can also add preparation and finishing time.
Ask whether the quote includes edges, thresholds, stairs, penetrations, and the areas beneath removable fittings. A floor can look inexpensive until these details are excluded, then become difficult to budget once the work is underway.
Evaluating quotes from local contractors
Compare quotes on scope rather than on price alone. The document should describe the proposed finish, preparation assumptions, repairs, testing, sealer, exclusions, access requirements, timing, and the treatment of changes. It should also distinguish between a polished finish and a simpler ground-and-sealed surface if those options are being discussed.
The clearest quote is not necessarily the longest. It is the one that lets you understand what will happen to your particular slab and which uncertainties remain. Ask for a sample or test grind where appearance is central to the decision.
Selecting a polished concrete contractor
A polished floor is shaped by equipment, timing, judgment, and communication as much as by the final polishing passes. Look for someone who can explain how the existing slab will be assessed and what the selected finish means in practical terms. Local experience is useful, but documented process and relevant completed work matter more than broad promises. A contractor should be comfortable discussing variation, repairs, grip, sealing, and the limits of the slab.
Checking experience with similar projects
Ask whether the contractor has worked on floors comparable in size, age, use, access, and finish. A residential renovation, a large retail area, and a civic interior can place different demands on planning and execution. Experience should include the difficult parts, not just attractive finished photographs.
It is also reasonable to ask who will perform the work, how the slab will be tested, and when polishing can begin. Clear answers indicate that the contractor understands the sequence rather than treating every project as interchangeable.
Reviewing samples, references, and completed work
A sample made from the project’s own concrete is more informative than a generic tile from another mix. Review it for aggregate exposure, color movement, repair visibility, sheen, edge details, and the way light changes across the surface. Completed work can then help you judge workmanship and maintenance, but it cannot predict your slab’s exact appearance.
References are most useful when they relate to a similar project and include questions about communication, site cleanliness, timing, and how variations or changes were handled. A good approval process leaves a written record of the selected sample and finish.
Confirming equipment, dust extraction, and safety practices
Ask what grinding and polishing equipment will be used and how dust will be controlled. Dust extraction, isolation, floor protection, and safe movement through the site matter especially in occupied buildings. The contractor should also explain how access will be managed around other workers and residents.
Grinding Dynamics is an approved applicator of the PeterFell C2 Polished Concrete System, a documented system relevant to specified polished concrete work. That status should be considered alongside the proposed scope, sample approval, site plan, and the actual people carrying out the project.
Comparing warranties, timelines, and contracts
A contract should set out the finish, preparation, exclusions, access requirements, payment stages, program, and the process for variations. It should explain what is covered if an issue appears and what falls under normal concrete variation or maintenance. Timelines should allow for curing, drying, sealing, protection, and the activities of other trades.
Do not treat a warranty as a substitute for a clear specification. The more precisely the floor is described before work begins, the easier it is to assess whether the completed result matches the agreed scope.
Maintaining polished concrete floors
Polished concrete is generally straightforward to maintain, but it is not maintenance-free. Dust, grit, spills, furniture movement, traffic, and unsuitable chemicals can affect the sealer and the appearance over time. The maintenance plan should reflect the room’s use, the selected sheen, the sealer, and whether the floor is interior or exterior. A simple routine usually prevents small problems from becoming expensive ones.
Establishing a regular cleaning routine
Remove loose grit regularly with a soft dust mop, vacuum suitable for hard floors, or another non-abrasive method. Damp mop when needed, using clean water and a properly diluted neutral cleaner. In commercial spaces, increase the frequency around entrances and high-traffic routes where abrasive sand and dirt are most likely to arrive.
Spills should be dealt with promptly, especially oils, food, colored liquids, and materials that can sit beneath furniture or mats. Avoid flooding the floor and allow it to dry properly before placing items back in position.
Choosing suitable cleaning products and equipment
Neutral, non-abrasive cleaners are usually the safest starting point, subject to the sealer manufacturer’s guidance. Avoid aggressive acids, harsh solvents, abrasive powders, and equipment that can scratch or strip the protective surface. Microfiber tools and clean pads are preferable to dirty or abrasive materials that simply move grit around.
If the floor has a specialized sealer or unusual exposure, ask for a written maintenance schedule at handover. Cleaning products should support the protective system rather than gradually remove it.
Preventing stains, scratches, and surface wear
Use felt or appropriate protective feet beneath furniture, lift rather than drag heavy objects, and place entrance mats where grit is carried inside. Mats should be kept clean so they do not become reservoirs of abrasive material. In commercial settings, plan traffic routes and temporary protection during fit-out or future renovations.
Sealers can improve resistance to staining, but they do not make the floor impervious to every substance. Standing water, oils, dyes, and construction contamination still require prompt attention. Good protection is especially important during the period after sealing while the floor reaches its specified service condition.
Knowing when professional resealing or refinishing is needed
A floor may need professional attention when cleaning no longer restores its appearance, staining becomes easier, the surface loses its intended sheen, or high-traffic lanes look noticeably different. The correct response might be cleaning and resealing, a maintenance polish, or more substantial refinement, depending on the condition beneath the sealer.
Have the surface assessed before applying a new product over the old one. Grinding Dynamics describes sealing options for different concrete surfaces, including interior floors, patios, driveways, and exposed aggregate, with the recommendation matched to the surface and its conditions. Regular professional review can extend the useful life of the floor and avoid unnecessary replacement.
Conclusion
A successful polished concrete floor in Tauranga begins with an honest reading of the slab and continues through careful decisions about aggregate, depth, sheen, sealing, access, and maintenance. Whether the project is a new build or an existing-floor renovation, a relevant test sample and a clear written scope provide a stronger foundation than generic photographs or a simple rate per square meter.
Frequently Asked Questions
Is polished concrete suitable for an existing Tauranga slab?
It can be, provided the slab is assessed for age, condition, contamination, cracks, flatness, and previous coverings. A test grind helps establish what the concrete can realistically produce.
How long should new concrete cure before polishing?
A minimum concrete age of 28 days is a useful planning guide before polishing, although the final timing depends on the slab, site conditions, construction sequence, and professional assessment.
Can polished concrete be made completely uniform?
No. Variation in mix, aggregate, placement, screeding, curing, repairs, and contamination can affect the result. A sample from the actual slab is the best way to set realistic expectations.
What does aggregate exposure mean?
Aggregate exposure describes how deeply the surface is cut to reveal the sand and stone within the concrete. Light exposure is subtle, while deeper exposure produces a stronger stone pattern.
Is a high-gloss finish the best option?
Not necessarily. Gloss, satin, and matte finishes suit different rooms, lighting conditions, traffic levels, and maintenance preferences. The choice should be judged on a physical sample.
How should polished concrete be cleaned?
Regularly remove grit, then damp mop with a suitable neutral cleaner. Avoid abrasive equipment and harsh chemicals, and follow the maintenance guidance for the particular sealer.
Can polished concrete be used outside or around a pool?
Exterior and wet areas may require a textured finish designed to provide grip when wet rather than a smooth interior polish. The surface, drainage, exposure, and intended use should be assessed before specifying the finish.