Problems

Finishes
Approved PeterFell C2 Applicator
Approved TextureSafe Applicator
Twenty-Five Years Combined Experience
Grinding Dynamics
Published 19 August 2026 · 9 minute read
Aggregate is the sand and stone in the concrete mix. It is most of the volume of a slab, the cement paste is the glue holding it together, and once you start grinding, aggregate is what you are looking at. It decides the appearance of a polished floor more than any other single factor, including colour.
It is also the factor people know least about, because it is invisible until the machine opens it up. You cannot see it on a finished slab. You cannot choose it off a chart. And on an existing floor you find out what you have on the day of the test grind.
Concrete is heavy and it is not economic to cart aggregate far, so plants use quarries and river sources near them. That means the stone in a Bay of Plenty slab came from the Bay of Plenty, and the stone in a Canterbury slab came from Canterbury. Same cement, same pigment, same depth of cut, and the two floors will not look the same.
This is why an image of a polished floor from another region is a poor reference. It is also why an operator who works nationally and flies in cannot tell you in advance what your floor will look like. We work here, we cut local slabs every week, and we still do a test grind before committing a depth, because source and mix vary between plants and between years.
Described in general terms, and without naming sources, local mixes run from rounded river stone through to angular crushed rock, and often carry both. Rounded stone cuts as smooth ovals and discs with soft edges. Crushed rock cuts with defined faces and sharper outlines, which reads as more geometric on the floor.
The colour range is broad. Mid greys are the constant. Through them you commonly see slate blues, pale creams and off whites, and darker charcoals close to black. The sand fraction matters as much as the stone, because at the shallower exposures the sand is most of what you see, and it is what gives a salt and pepper floor its fine even speckle.
Two slabs poured a fortnight apart from the same plant can differ. That is normal for a site made material and it is not a defect. It does mean that if you have two areas poured on different days and you want them to match, you need to say so before the second pour rather than after the grind.
The same slab gives you five different floors. The depth is the decision.
Here is the sequence. Every one of these can come off the same slab. The only variable is how much material we remove before we stop cutting and start polishing.
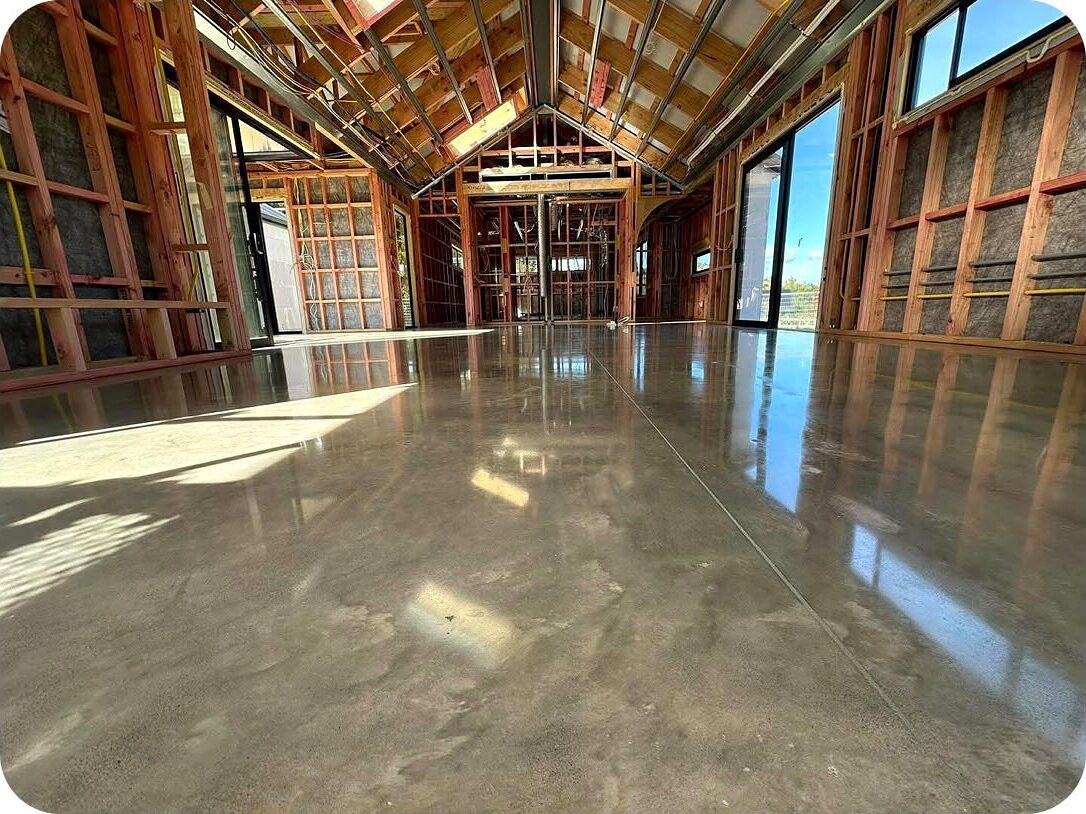
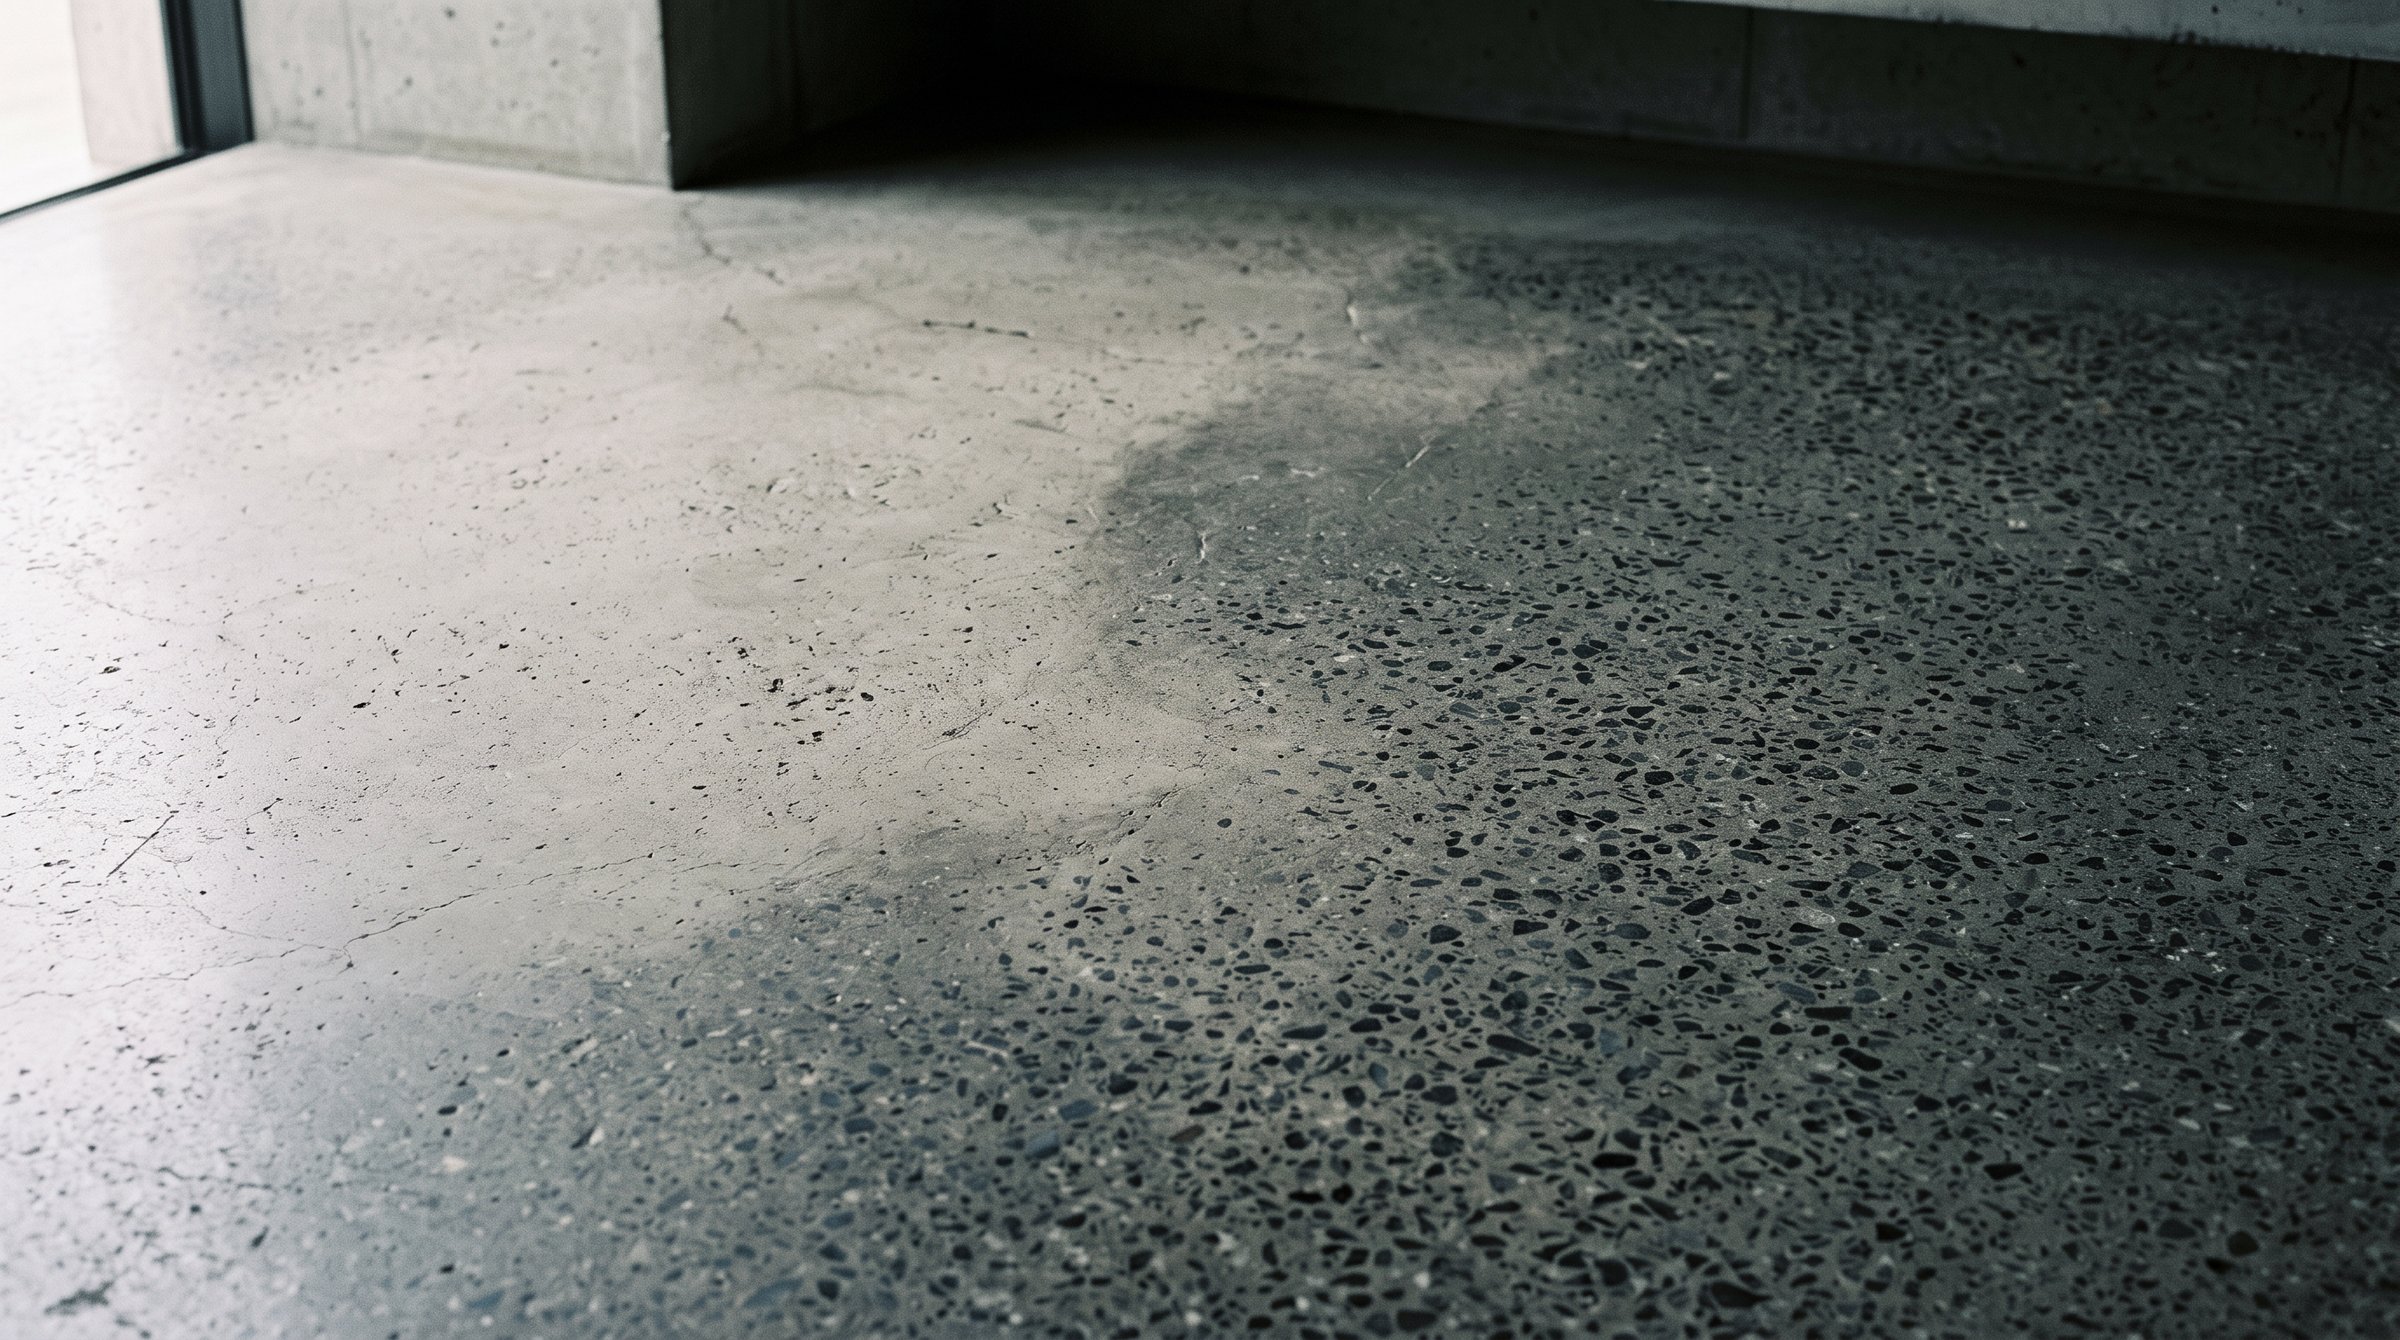
Natural polish. The cement cream is retained, almost no stone shows, and you are looking at the surface the trowel left, refined.
At natural polish we take off very little. The cement cream stays, the floor reads as a plain surface with a soft sheen, and any colour in the mix is at its strongest because you are seeing pigmented matrix and nothing else. It is the calmest of the finishes and the most forgiving of a busy room. It is also the least forgiving of a slab that was trowelled unevenly, because trowel marks and burnished bands are still in that top layer.
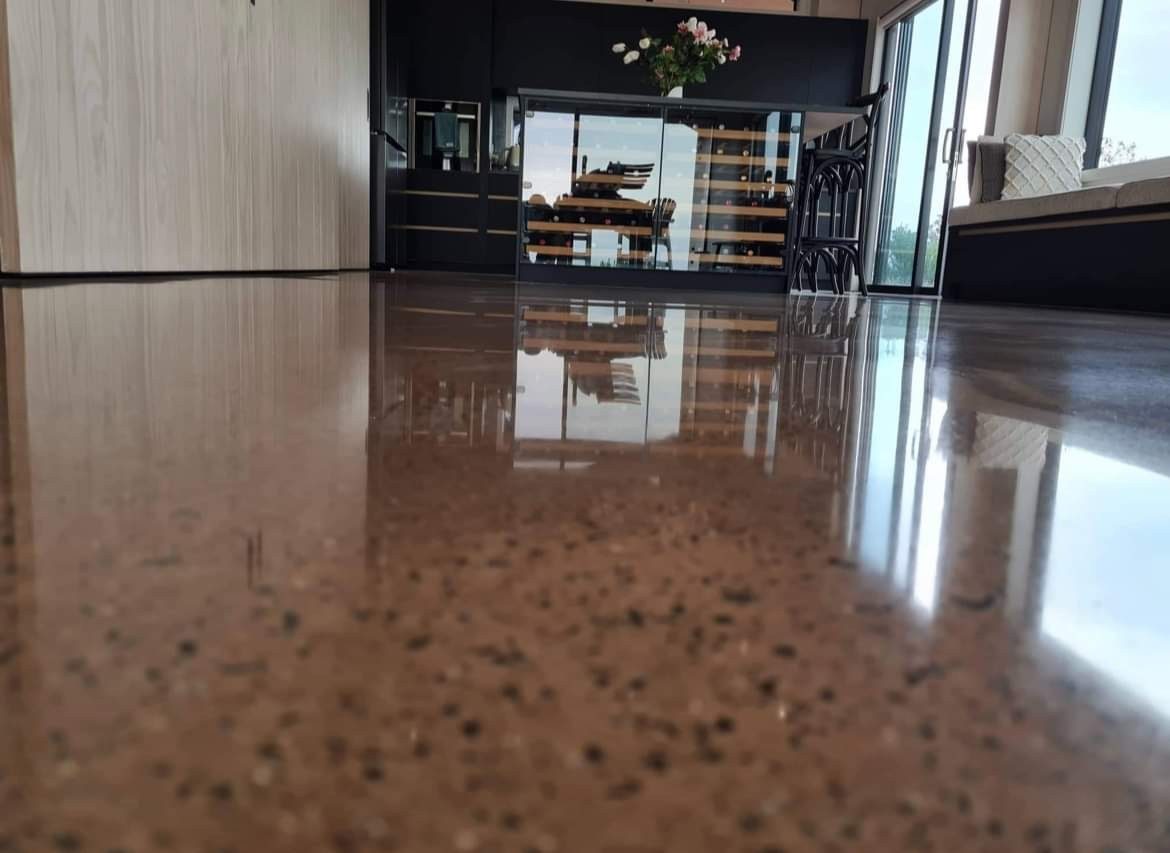
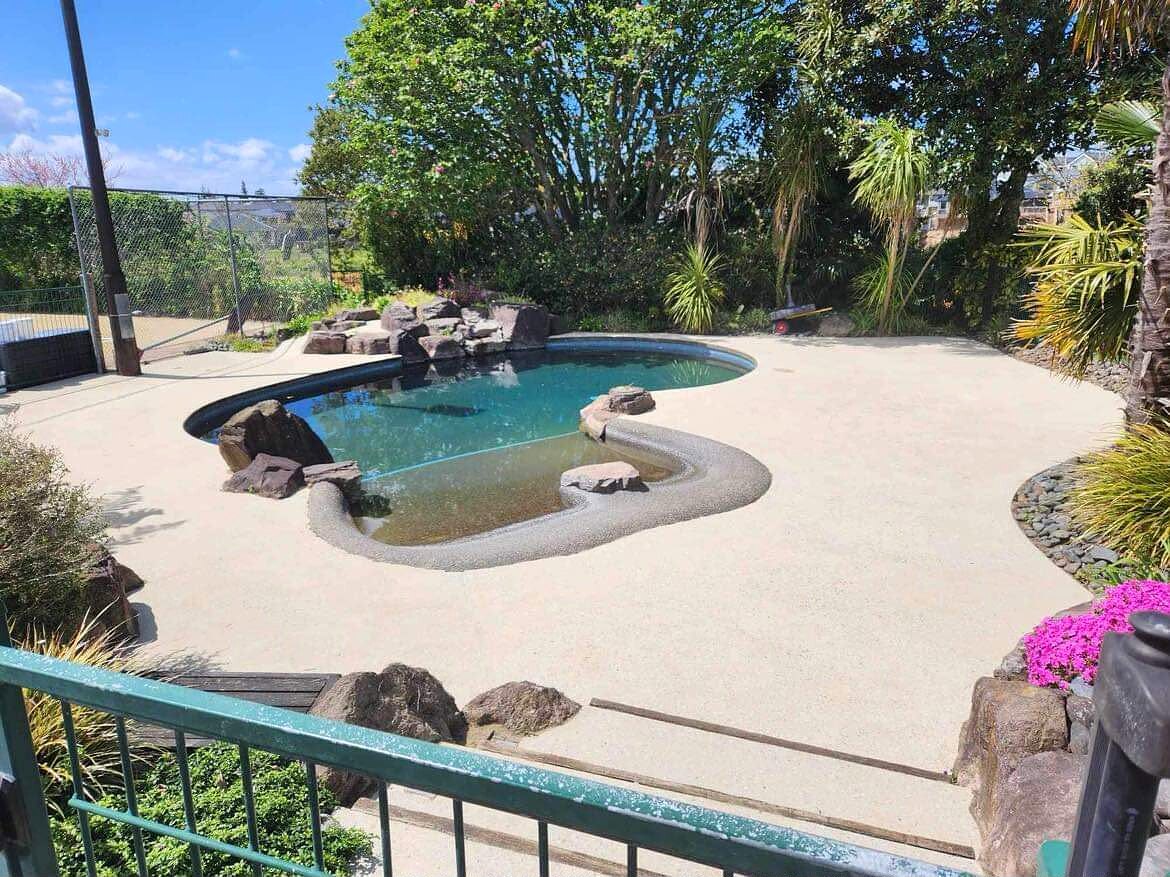
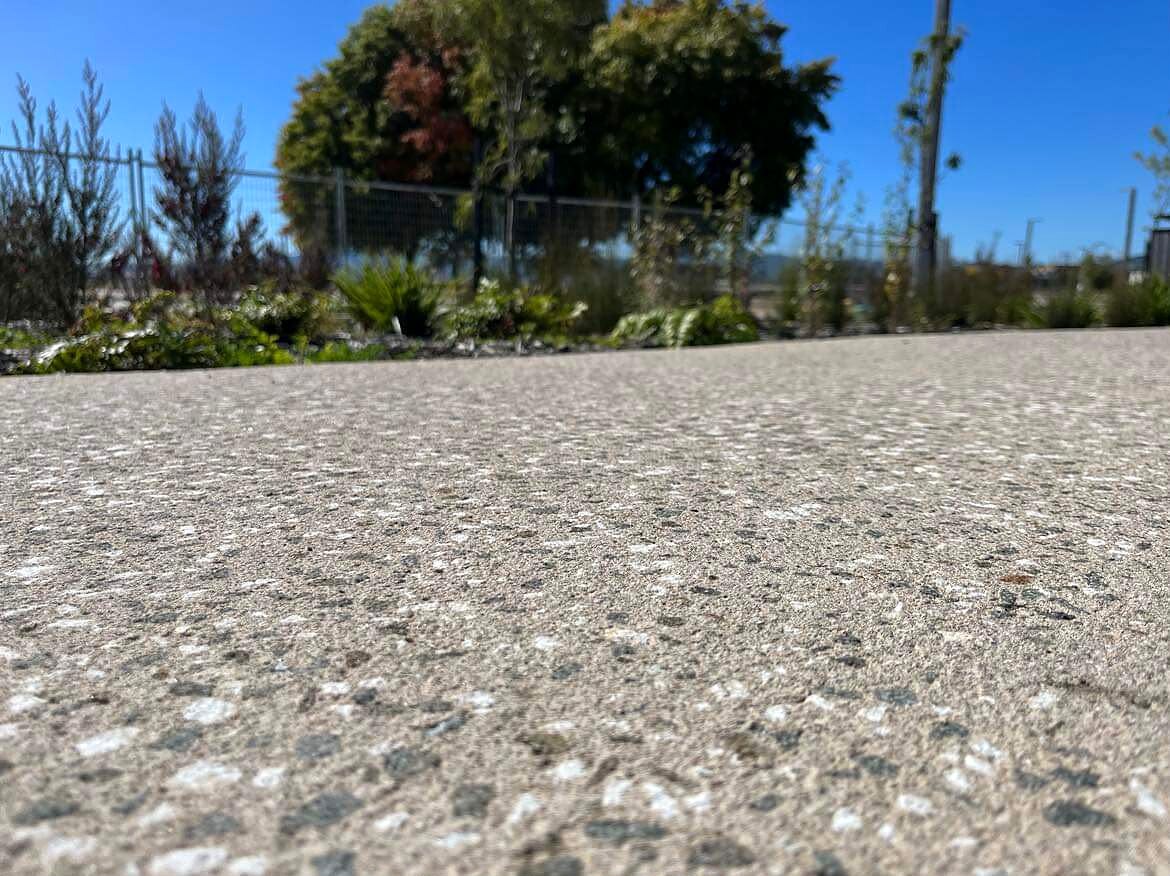
Salt and pepper. The very tips of the aggregate are opened, giving a fine, even speckle without any large stone showing.
Salt and pepper is a shallow cut, typically a millimetre or two, enough to break through the cream and open the sand and the tips of the nearest stones. The result is a fine even texture at close range that reads as a plain floor from standing height. It is the most requested residential finish for good reason. It has depth and life without the floor becoming a pattern.
It is also the exposure most sensitive to slab flatness, because a shallow cut only reaches the high points. If the slab has a few millimetres of variation, some areas will be at salt and pepper and others will still be at cream. That is the mechanism behind most patchy floors.
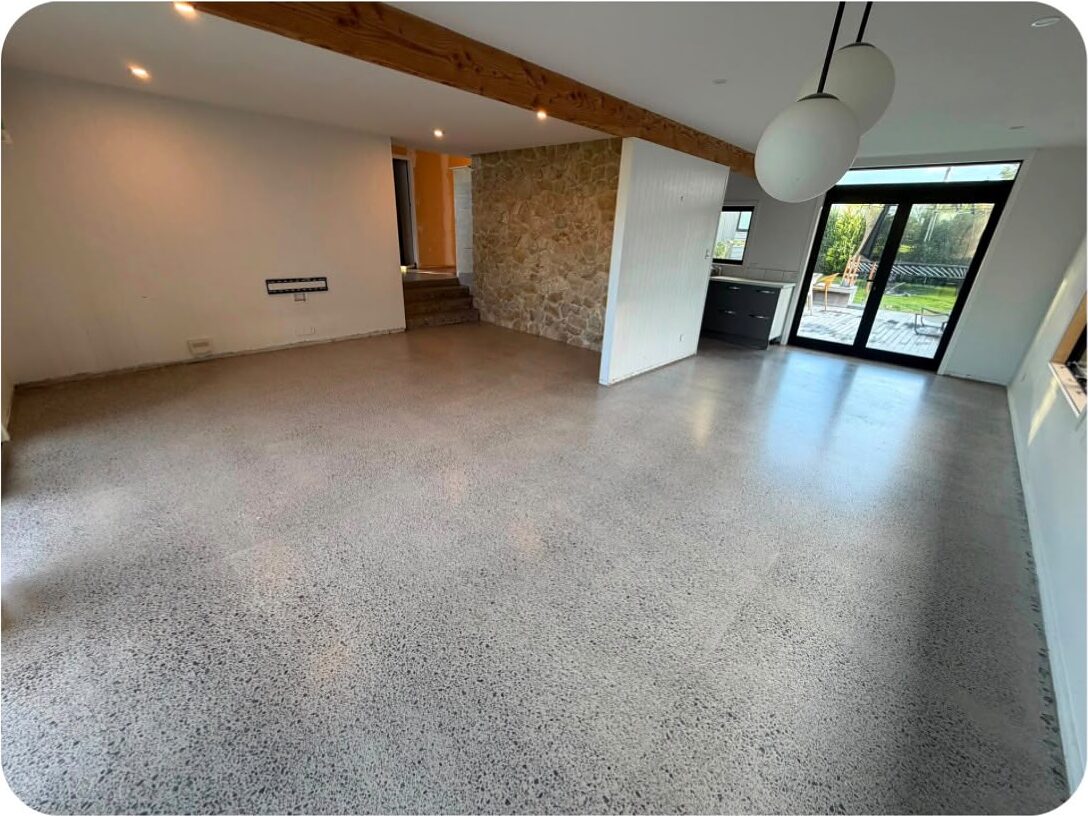
Light exposure. Stones are cut through rather than tipped, and each one reads as a flat disc set in the matrix.
At light exposure we are through the tips and into the stone. Individual aggregate is cut open and each piece presents as a flat face, so the floor gains defined shapes rather than just speckle. There is still plenty of matrix between the stones, so pigment colour still carries. This is a good compromise where someone wants visible stone without the floor becoming terrazzo.
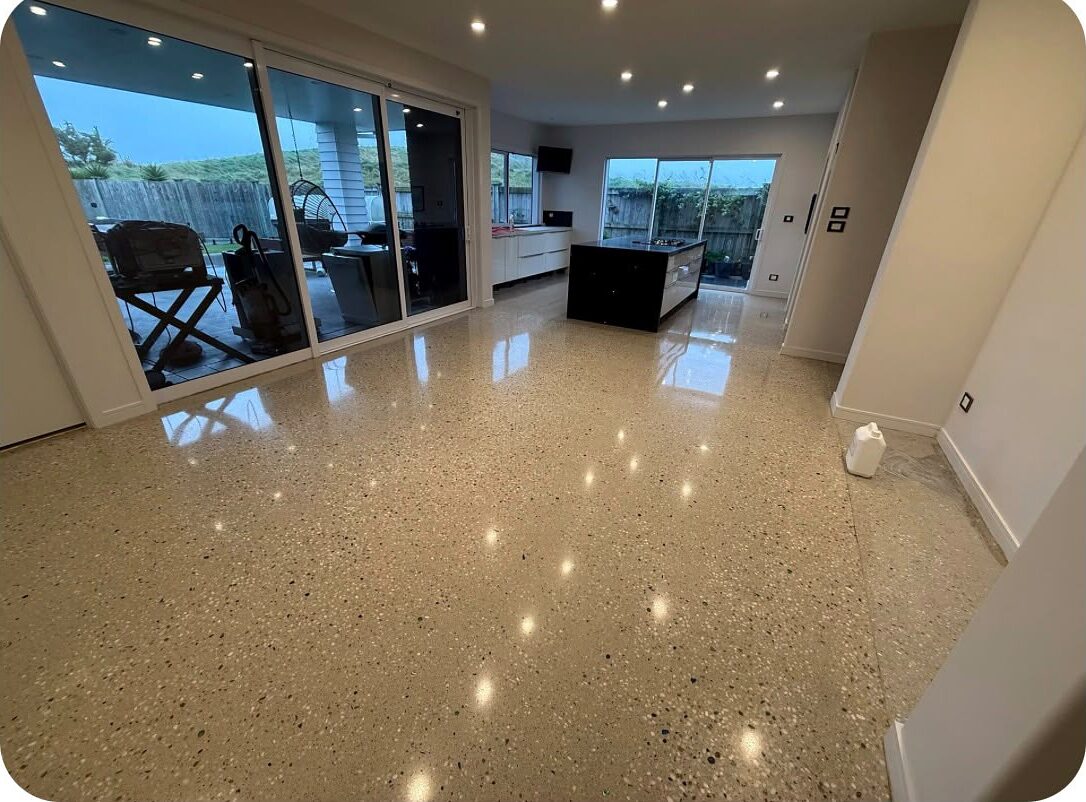
Medium exposure. The stone dominates, and the cement matrix is reduced to the lines running between the aggregate.
Medium exposure is a deeper cut and the balance flips. Aggregate becomes the field and the matrix becomes the gaps. Colour in the mix now works as a background rather than as the main tone, which is worth understanding if you have paid for a strong pigment. Medium is even and consistent by nature, because at that depth you are past most of the surface variation the slab had.
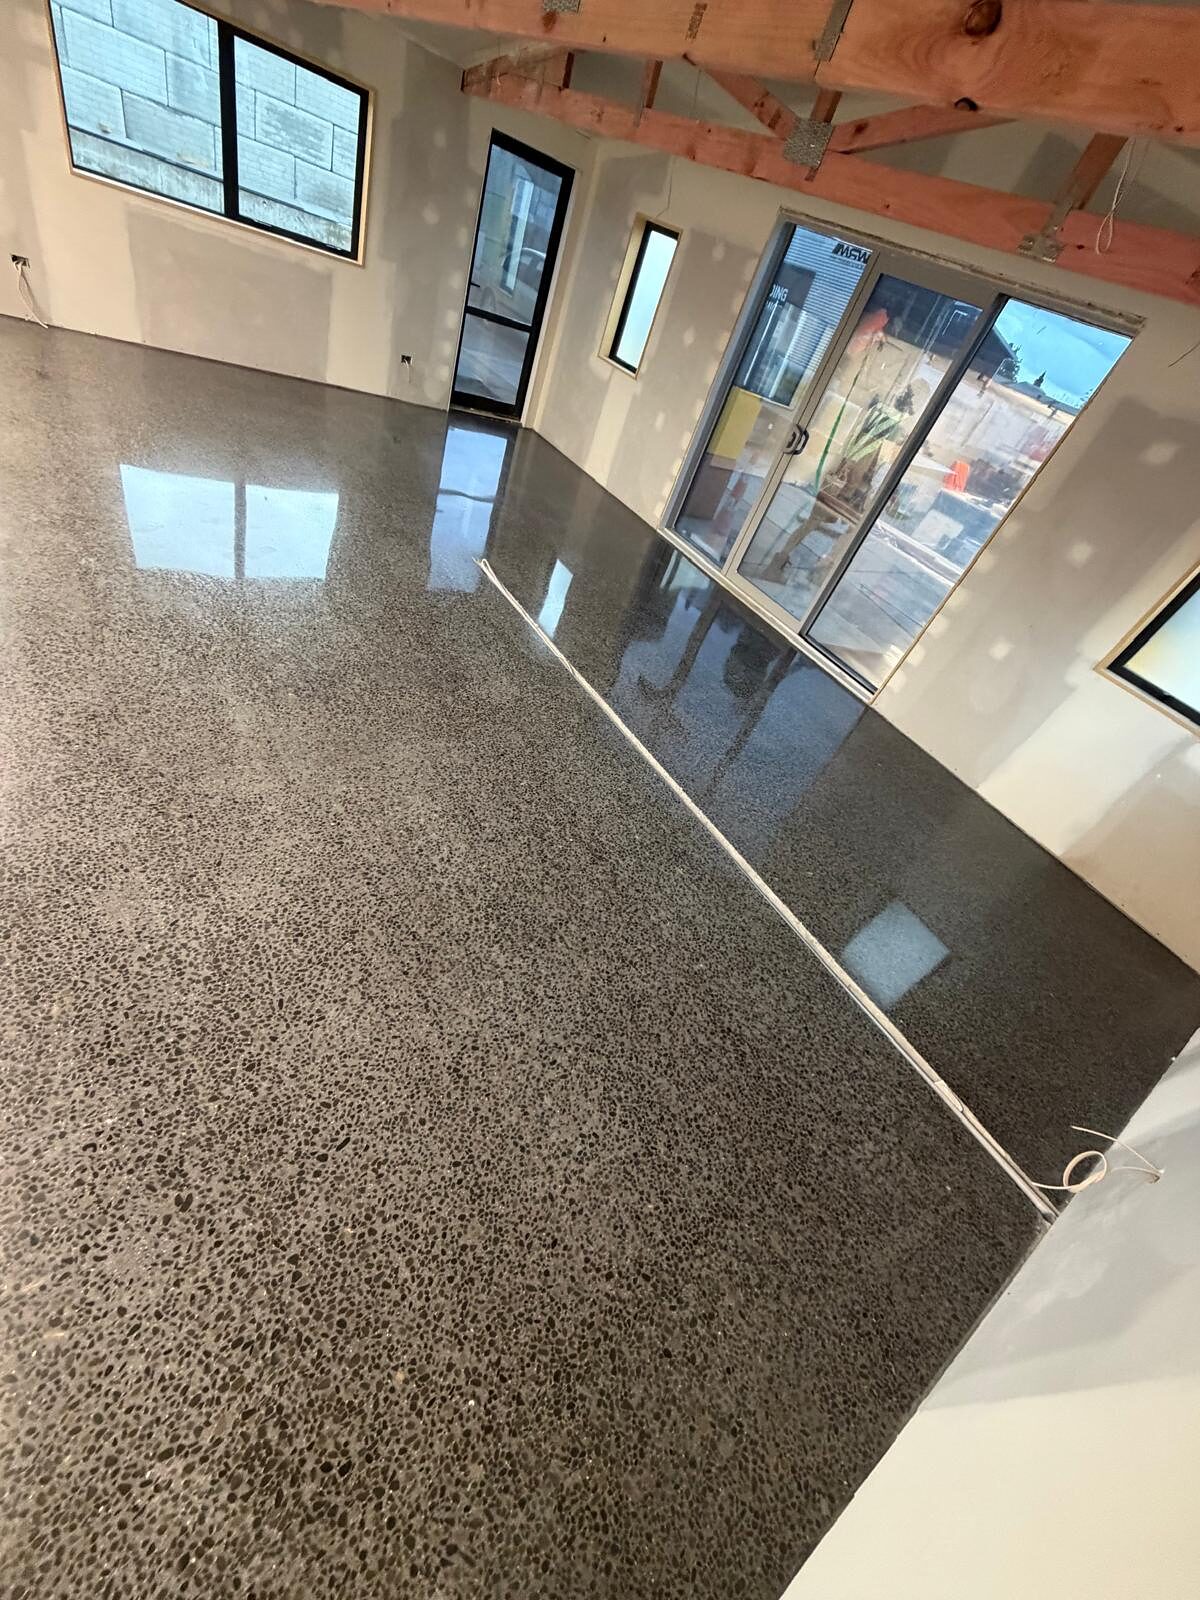
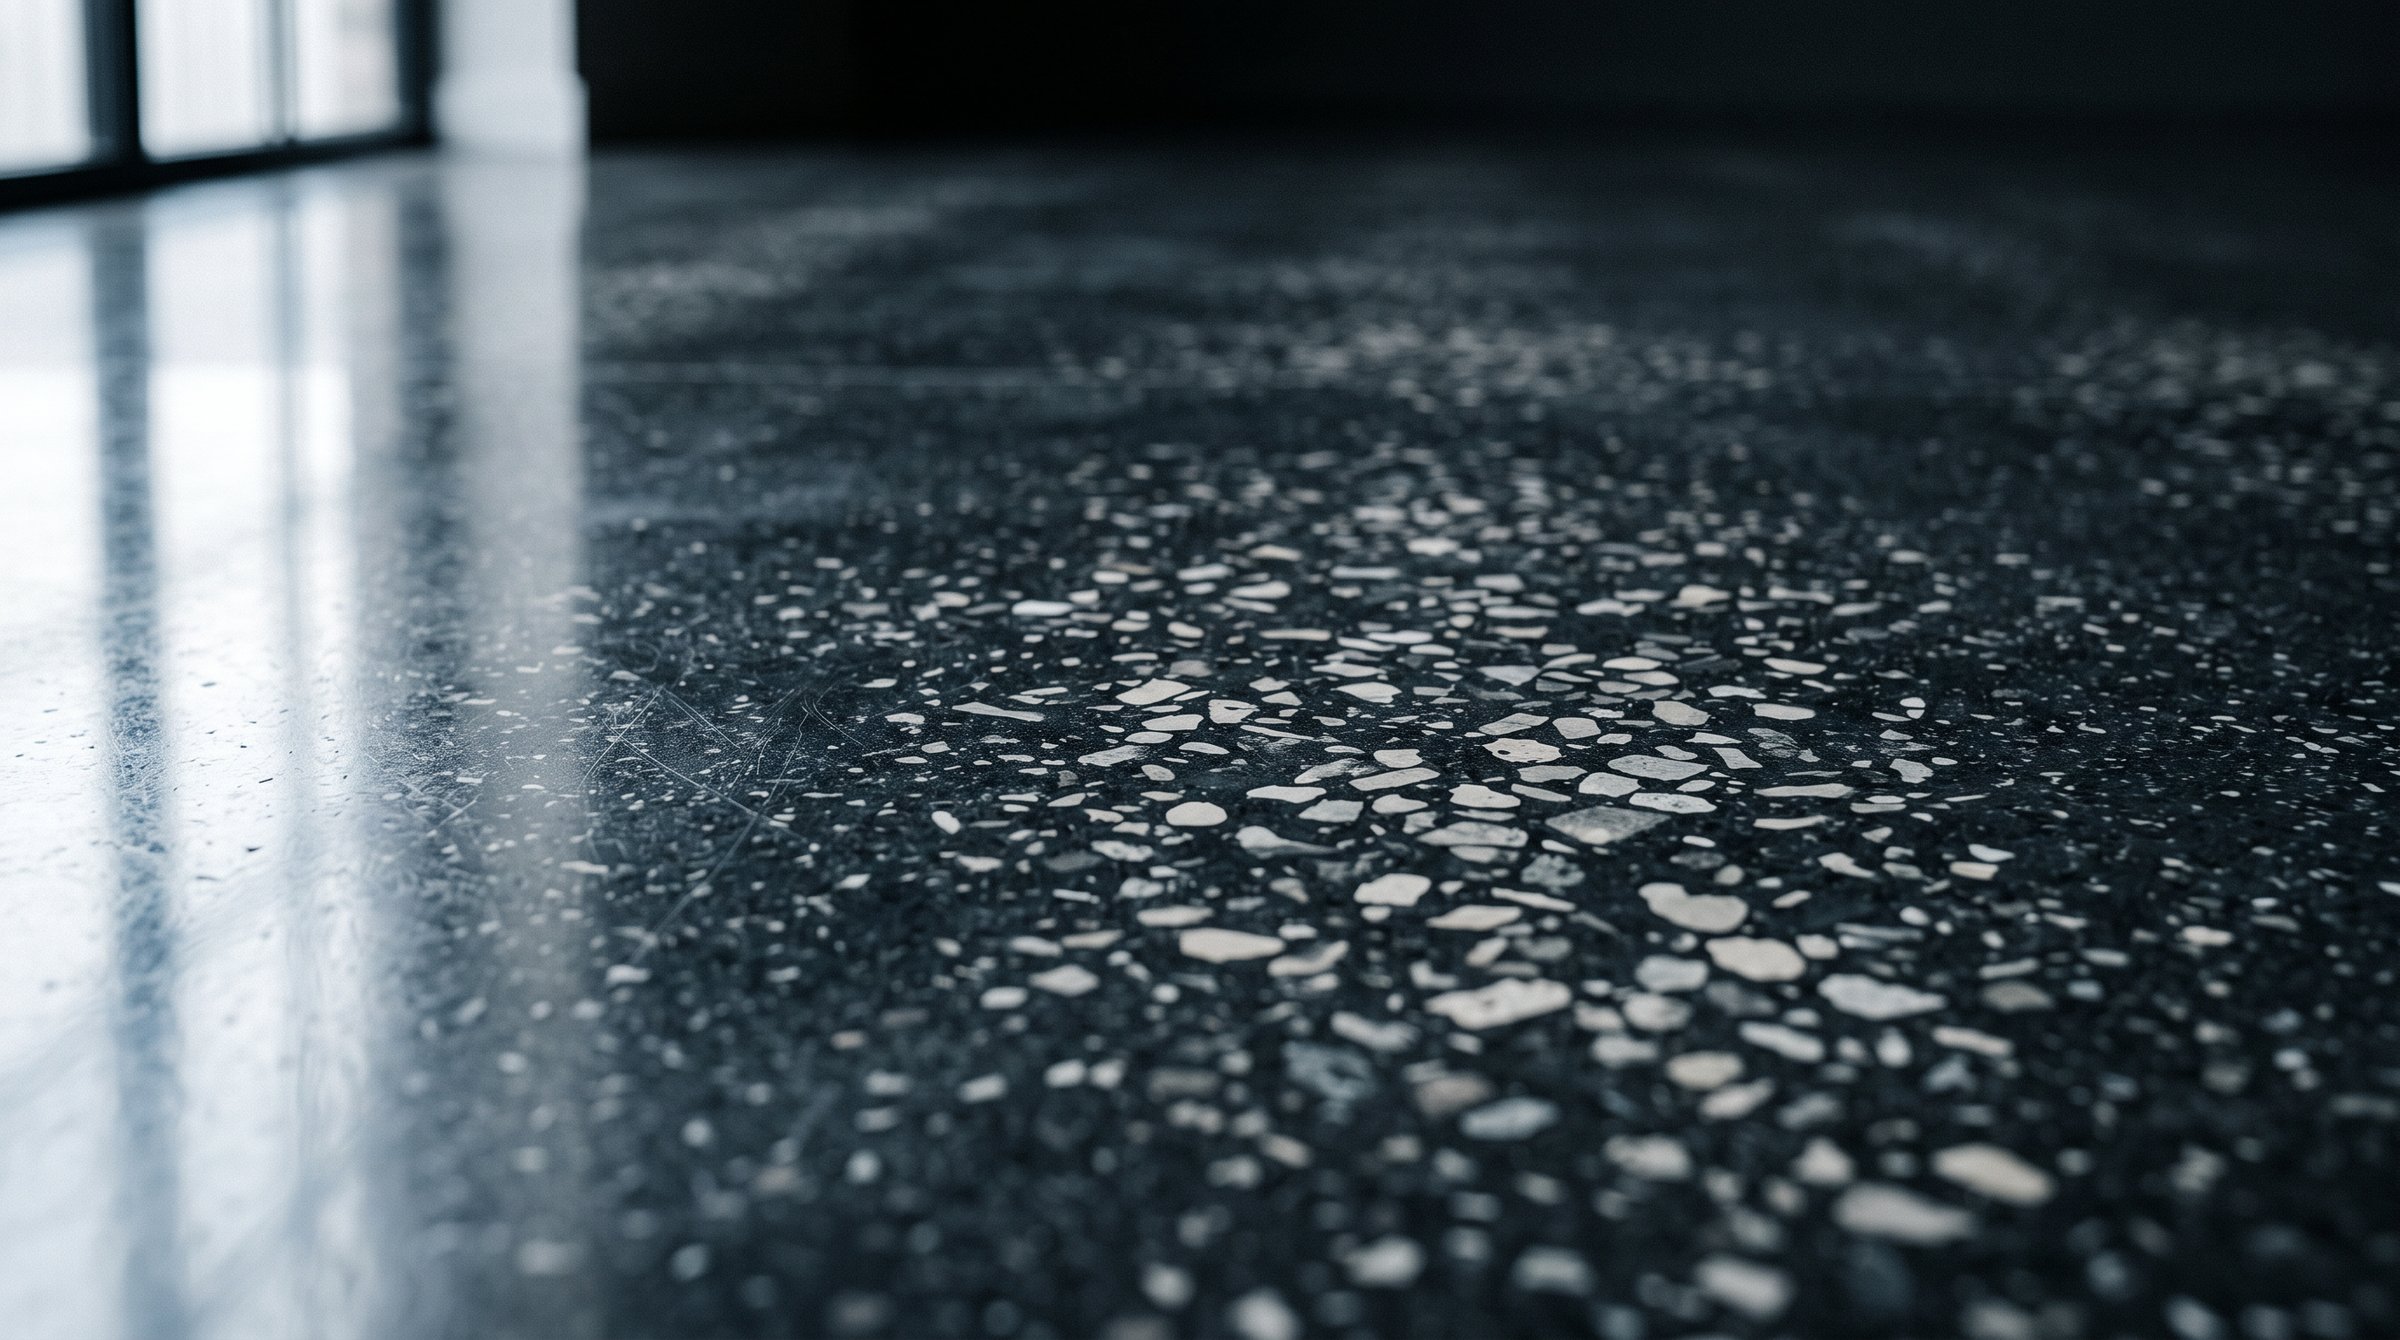
Heavy exposure. Full terrazzo character, with large stone faces packed across the floor and minimal matrix visible.
Heavy exposure is the deepest cut we do and it produces a full terrazzo look. Large stone faces, tight packing, and very little cement showing. It is a strong result and it suits large commercial spaces and bold residential rooms. It removes the most material, it takes the longest, and it commits you completely, because there is no going back up.
| Depth | What shows | Character | Typical use |
|---|---|---|---|
| Natural polish | Cement cream retained, effectively no stone | Calm, plain, strongest pigment colour | Interiors where the floor is a quiet background |
| Salt and pepper | Sand and the tips of the nearest stones | Fine, even speckle, plain from standing height | The common residential choice for living areas |
| Light exposure | Small stones cut open as flat discs | Defined shapes with plenty of matrix around them | Where visible stone is wanted without a terrazzo look |
| Medium exposure | Aggregate dominant, matrix reduced to lines | Busy, consistent, colour reads as background | Commercial floors and larger residential spaces |
| Heavy exposure | Large stone faces packed across the surface | Full terrazzo character, minimal cement visible | Statement floors and high traffic commercial areas |
| Seeded aggregate | Selected decorative stone placed into the top of the pour | Controlled, uniform, chosen rather than inherited | Where the standard mix will not give the required look |
Every depth in this table can be produced from the same slab. What each one actually looks like on your floor depends on the aggregate in your mix, which is why we test grind first.
Standard mix aggregate is chosen for structural performance and cost, not for looks. Sometimes the stone that comes with it is not the stone a design needs, either because the colour is wrong or because a specific decorative aggregate has been specified.
Seeding is the answer to that. Selected stone is broadcast into the surface of the wet pour and worked in, so the top layer contains chosen aggregate rather than whatever the mix carried. It gives control and uniformity that a standard mix cannot, and it is the way to get a specific decorative stone into a floor. It has to be planned and executed at the pour, it adds cost, and it needs a placing crew who have done it before. Like colour, it is not something that can be added afterwards.
A photograph of somebody else's floor tells you what their aggregate, their colour, their depth and their sealer produced under the light in their room, photographed on their camera. Change any one of those and the result moves. Change the region and the stone itself is different.
Photographs are useful for direction. Use them to tell us whether you want calm or busy, light or dark, fine or bold. Do not use them as a specification, and be wary of anyone who accepts one as a specification.
The only honest way to choose a depth is to cut your own slab and look at it. We grind a small area, usually somewhere it will be covered or is out of the way, and take it progressively through the exposures. That shows you your aggregate, at your depth, in your light, on your floor.
It also tells us things you need to know before you commit. How deep the cream is. Whether the aggregate sits high or low in the pour. Whether there is contamination in the top few millimetres. Whether the flatness will allow a shallow exposure to run evenly. On an existing slab it is the difference between a quote based on evidence and a quote based on hope.
Wet the ground area before you judge it, because a sealer will deepen the tone. What you see wet is much closer to what you will get finished than what you see dry.
On a new pour, partly. You can discuss the mix with the concrete supplier and you can specify seeded aggregate, which places selected decorative stone into the top of the pour. On an existing slab you cannot, because the stone is already in there and the only variable left is how deep we cut.
Usually a different depth of cut, and often a different concrete batch. Aggregate varies by source and by mix, so two slabs poured from different plants, or from the same plant months apart, can carry noticeably different stone even at the same exposure.
Selected decorative stone broadcast into the surface of the wet concrete and worked in during placement, so the top layer contains chosen aggregate instead of whatever the standard mix supplied. It gives a uniform, controlled result and it has to be done at the pour.
The exposed surface of a polished floor is largely stone, which is harder than the cement paste around it, so a deeper exposure gives a hard wearing surface. In practice all of the finishes we produce are durable when sealed and maintained, and the choice between them is about appearance rather than performance.
We can get close where the new area is poured from a similar mix and cut to the same depth, and we test grind both to compare. An exact match cannot be promised, because aggregate is a natural material that varies between loads and between sources.
A test grind on your own slab. We cut a small area progressively through the exposures so you can see your aggregate at each depth, in the light of the actual room. Wet the area before you judge it, because sealing will deepen the tone in the same way.
Natural, salt and pepper, light, medium and heavy exposure side by side.
How pigment in the matrix reads against local stone at each depth.
Test grinds on your own slab before the depth is committed.
Price a floor
A few pertinent questions about your slab and space.
Step 1 of 6
Your own slab answers more than another thousand words.
Site assessment and written quote, no obligation.

Tell us about the slab and we will tell you what it can do.
Site assessment and written quote, no obligation.