
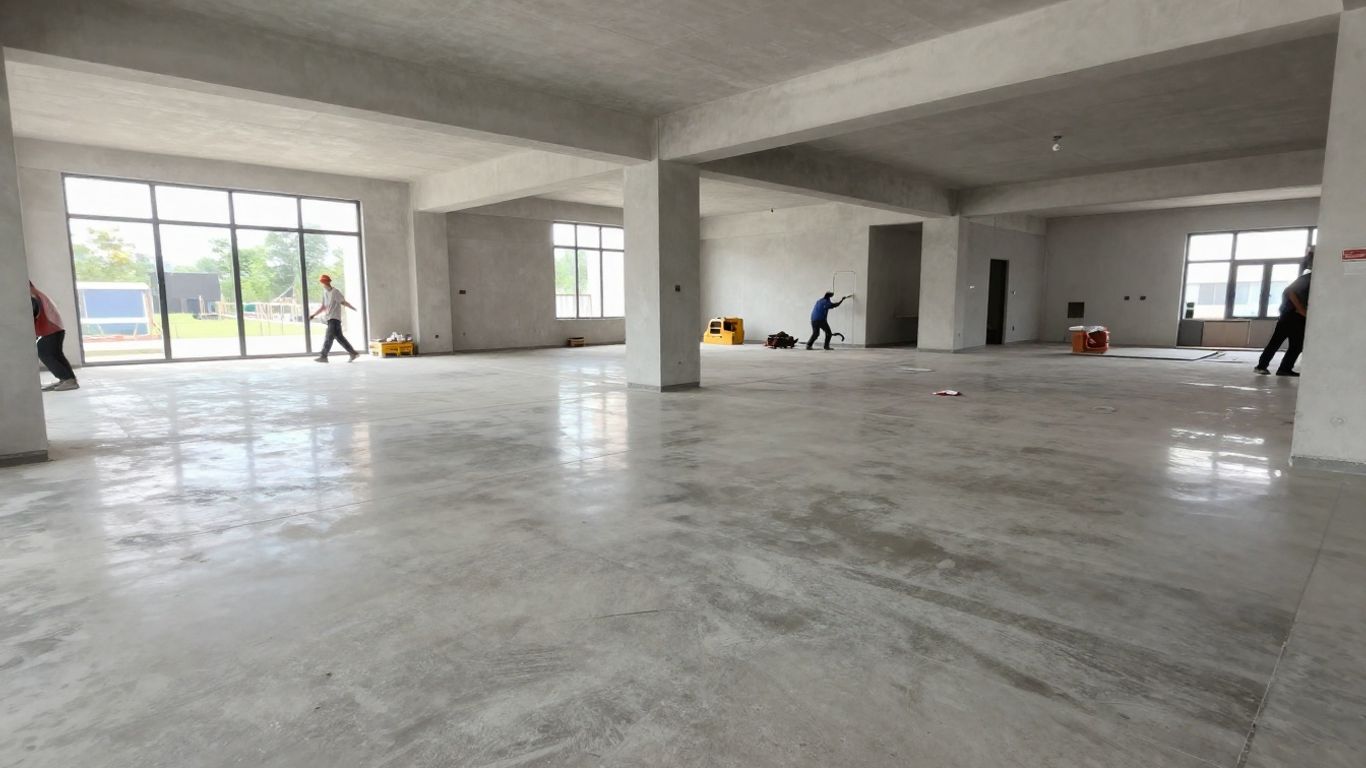
How polished concrete is made: A step-by-step guide to the process
Learn how polished concrete is made, from slab preparation and grinding to densifying and final polishing.
Published 25 August 2026
Key Takeaways
Polished concrete is made by progressively grinding, honing, hardening, and polishing the concrete that is already there. The final result depends as much on the slab and preparation as it does on the equipment and diamond sequence.
- The existing slab determines much of the floor’s color, aggregate, and character.
- Preparation removes contaminants and identifies repairs before grinding starts.
- Diamond grits gradually flatten, refine, and polish the concrete surface.
- Densifier hardens the concrete before the finest polishing stages.
- Samples, practical protection, and suitable maintenance help set realistic expectations.
What polished concrete is and how it differs from coated floors
Polished concrete is made by mechanically working the concrete slab with progressively finer diamond abrasives. The process reveals and refines the slab itself rather than covering it with a separate decorative layer. That distinction affects the appearance, repairs, timing, and maintenance of the finished floor. A useful overview of the process is available in this polished concrete process guide.
The role of cement paste, aggregate, and surface density
Concrete contains cement paste surrounding sand and larger aggregate. Grinding can remove the weaker upper surface and expose some of the stone beneath it, while honing and polishing refine the paste and exposed aggregate into a smoother finish. Surface density matters because soft or porous concrete can shed material, absorb treatments unevenly, or show scratches more readily. The slab remains the starting point, so its mix, placement, curing, and finishing all influence what can be achieved.
Polished concrete versus sealed, honed, and epoxy floors
A polished floor has been ground and refined through a sequence of abrasive steps to create its sheen. A honed floor generally stops at an earlier, less reflective stage, while a sealed floor relies primarily on a protective sealer rather than a long polishing progression. Epoxy is a separate resin-based floor finish applied over a prepared surface. These options may suit different conditions, but they should not be treated as interchangeable descriptions of the same process.
How the existing slab affects the final appearance
An existing slab may contain different concrete loads, trowel marks, repairs, stains, joints, or areas with different aggregate exposure. Those variations can become more visible as the surface is opened and polished. For that reason, a test grind on the customer’s own concrete is more useful than relying on a photograph or generic sample. Guidance on polishing an existing slab explains why age, condition, and what lies beneath the current floor all matter.
Choosing between a natural, decorative, or exposed-aggregate finish
The desired look is shaped by four connected decisions: concrete color, aggregate, depth of cut, and polish level. A shallow cut may produce a subtle natural or salt-and-pepper appearance, while a deeper cut can reveal larger stones and stronger patterning. Decorative aggregate or seeded stone must generally be considered before the pour, since grinding can only reveal material that exists in the slab. Physical samples help confirm the relationship between the concrete, aggregate, and sealer.
Assessing and preparing the concrete slab
Preparation is the stage where expectations meet the actual floor. Before a grinder is brought in, the slab should be inspected for its condition, hardness, contamination, access, and surrounding details. New concrete also needs adequate curing time; a minimum 28-day period is commonly specified before grinding begins. The builder guide to polished concrete covers pre-pour decisions, site protection, and the need to make the slab a known quantity rather than a hopeful one.
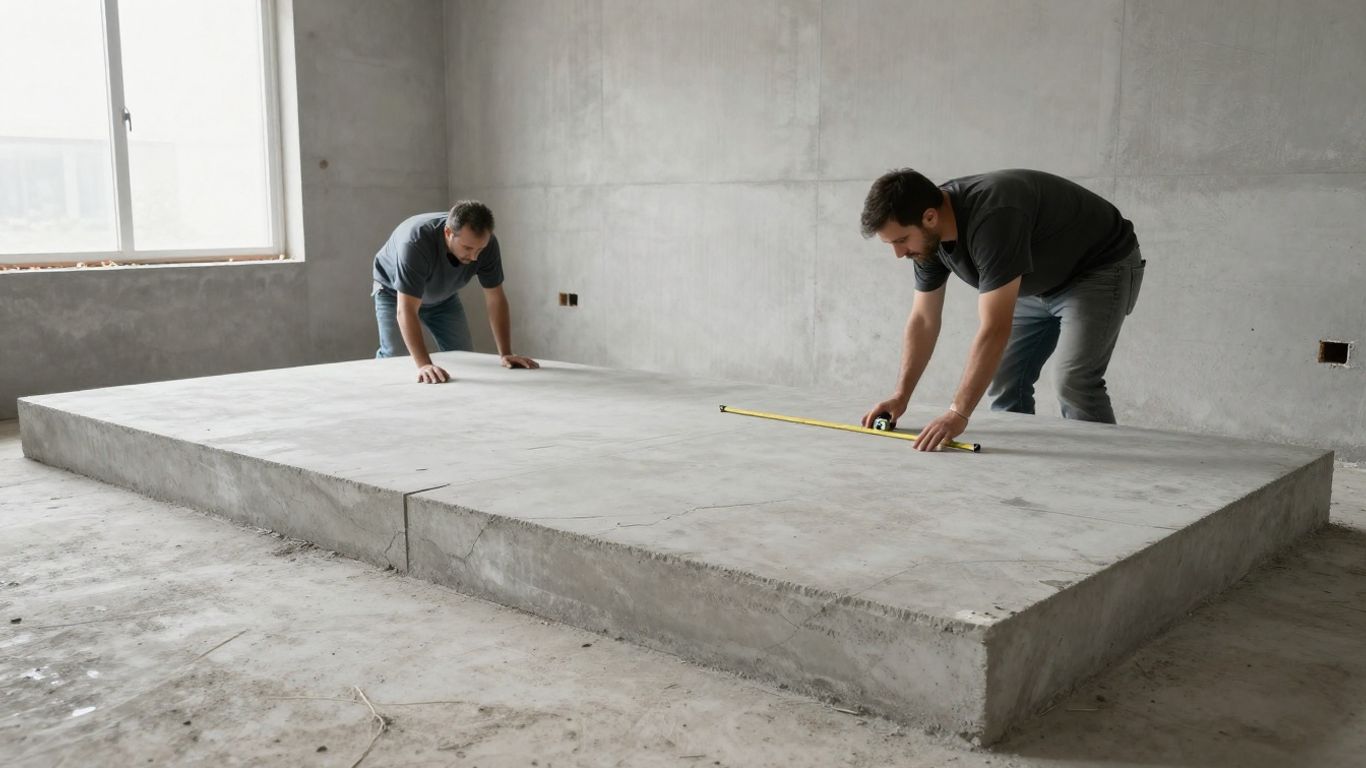
Checking the slab for cracks, joints, stains, and uneven areas
The inspection records cracks, control joints, high spots, low areas, laitance, stains, and visible trowel marks. It also considers how light will fall across the floor, because raking light can make small changes in sheen appear stronger. A few test areas can show the likely aggregate exposure and reveal whether contamination extends below the surface. This information helps define the realistic scope before a finish is promised.
Removing adhesives, coatings, curing compounds, and contaminants
Old carpet glue, tile adhesive, paint, curing compounds, sealers, plaster, oil, and other residue can clog tooling or prevent a consistent grind. Removal may require coarse diamond work, scraping, or localized treatment before the main sequence begins. Contamination that has penetrated deeply may remain visible even after cleaning and grinding. The aim is not simply to make the slab look clean; it is to create a surface that can be assessed and worked consistently.
Repairing damage before grinding begins
Cracks, pinholes, small voids, and broken edges are usually repaired as part of preparation, although repairs do not make the slab structurally new. The repair material must be compatible with the intended finish and allowed to cure sufficiently before refinement. Large movement cracks, unstable areas, or serious moisture issues need a separate assessment rather than cosmetic filling. A repair can remain slightly visible, and that is part of setting an honest expectation for an existing floor.
Planning around walls, fixtures, drains, and transitions
Large grinders work efficiently across open areas, but edges, doorways, columns, drains, stairs, and fixed cabinetry require different equipment and more time. The planned finish should meet adjacent tile, timber, carpet, or thresholds without creating an awkward height change. Walls and fixtures also need protection from dust, slurry, and accidental contact. A clear site plan reduces interruptions and makes the handover cleaner.
Grinding the surface to expose and level the concrete
Grinding is the first major abrasive stage. It removes unwanted material, levels minor variations, and determines how much aggregate becomes visible. The operator changes diamond tooling according to the concrete’s hardness and the condition of the slab, rather than following one rigid grit schedule for every project. Concrete grinding can also be used independently for preparation, levelling, or a ground-and-sealed floor, as described in these concrete grinding services.
Selecting the first diamond grit for the slab condition
The first grit must be aggressive enough to remove coatings, laitance, adhesive, or uneven material without creating unnecessary damage. A heavily contaminated or uneven slab may need a coarser starting tool, while a relatively clean surface may begin with a less aggressive diamond. Hardness testing and a small trial area help confirm the choice. Starting incorrectly can waste tooling, increase dust, and make later scratch removal more difficult.
Using planetary grinders and edge equipment
Planetary grinders use rotating heads to move diamond tools across the open floor, producing a controlled and repeatable cutting pattern. Edge grinders and hand tools then address the perimeter and places the main machine cannot reach. The operator needs to manage pace, pressure, overlap, and transitions so the floor does not develop bands or inconsistent exposure. Edge work often takes longer than expected because walls and fixtures limit movement.
Progressing through coarse grits to remove imperfections
The coarse passes establish the floor’s basic flatness and remove the scratches or defects left by the previous tool. Each pass should overlap the last and continue until the intended level of refinement has been reached; moving on too early can leave deep scratches that remain visible at the finish. Decisions about depth of cut should be made with the slab’s aggregate and repair history in view. The cost of polished concrete is also affected by slab condition and edge work, not just floor area.
Managing dust with wet and dry grinding methods
Dry grinding uses extraction equipment to capture airborne dust, which can be useful in occupied buildings and during detailed preparation. Wet grinding suppresses dust with water but creates slurry that must be contained, collected, and disposed of responsibly. The choice depends on the site, equipment, access, surrounding finishes, and waste controls. Either method requires careful cleaning between stages so loose abrasive particles do not scratch the next surface.
Refining the surface through honing
Honing follows the aggressive removal work and begins to reveal the character of the prepared slab. The surface becomes smoother as the abrasive sequence moves upward, but the floor is not yet at its final sheen. Operators inspect the concrete between passes, because a missed scratch or patch can become harder to correct later. The transition from grinding to honing is where patience starts to show in the finished floor.
Moving from metal-bond tools to resin-bond diamonds
Metal-bond diamonds are generally used for the earlier, more aggressive work. Resin-bond diamonds take over as the surface becomes flatter and the remaining scratches need to be refined rather than cut away. The change is not merely a matter of using a higher number; the tooling and pressure must suit the concrete and the condition of the floor. A clean transition helps avoid carrying coarse scratches into the polishing stages.
Choosing grit levels for a matte or reflective finish
A matte finish stops earlier and reflects light softly, while satin, gloss, and mirror finishes require progressively finer refinement. The selected grit sequence affects how clearly objects reflect, how much aggregate is defined, and how forgiving the surface is under everyday lighting. The appropriate stopping point depends on use as well as taste. A polish level guide compares matte, satin, gloss, and mirror finishes and their different maintenance expectations.
Opening pores and preparing the slab for densifier
Honing removes the rough marks left by coarse grinding and leaves a surface that can accept a chemical densifier more evenly. The slab should be vacuumed or washed as appropriate so abrasive residue does not interfere with the treatment. Timing matters: applying densifier too early can interfere with the cutting process, while waiting until the surface is fully closed may reduce penetration. The correct stage is determined from the slab’s porosity and the chosen process.
Preventing swirl marks, uneven sheen, and visible scratches
Swirl marks often come from inconsistent machine movement, poor overlap, dirty tooling, or advancing before the previous scratches have been removed. Uneven sheen may also reflect changes in concrete hardness or repaired areas rather than an operator error alone. Frequent inspection under different lighting helps identify problems while they can still be corrected. The final surface should be judged across the whole room, including edges and areas near light sources.
Hardening and densifying the concrete
Densification is a chemical treatment used to improve the working surface before fine polishing. It does not change a poor mix into a new slab, and it cannot hide every repair or deep stain. Instead, it reacts with suitable components in the concrete to reduce friability and create a firmer surface for the remaining abrasive stages. Application should follow the condition of the slab, not a calendar shortcut.
What a chemical densifier does to the concrete
A densifier reacts within the cement paste and helps reduce loose, powdery material at the surface. This can make the concrete more receptive to polishing and improve resistance to abrasion during use. Different products and concrete conditions behave differently, so the applicator should follow the selected system’s instructions. Densifier is part of the process, not a substitute for grinding, honing, or proper cleaning.
Applying the densifier at the right stage
The treatment is normally applied after the surface has been opened and refined enough to accept it, but before the finest polishing passes. Applying it over adhesive, heavy dust, or an unsuitable surface can create an uneven response. Coverage should be controlled so the product reaches the intended area without leaving excessive residue. A test area can confirm how quickly the slab absorbs the treatment.
Allowing the treatment to react and dry
The densifier needs time to react with the concrete and for any remaining residue to be removed. Depending on the product and site conditions, the surface may be scrubbed, vacuumed, or otherwise cleaned after the reaction period. Rushing into the next abrasive step can drag residue across the floor or affect the sheen. Temperature, ventilation, porosity, and moisture all influence drying time.
Adjusting the process for soft, porous, or heavily patched slabs
Soft concrete may consume tooling quickly and require a more cautious sequence. Porous areas can absorb treatment differently from dense sections, while patched zones may polish at a different rate or color. The response should be checked across representative areas before the full floor is completed. Where the slab is structurally unsound, deeply contaminated, or covered by a thin topping, polishing may not be the right solution.
Creating the final polished finish
Fine polishing brings the floor to its selected level of reflection. At this point, the surface should already be flat, repaired, clean, and hardened; fine diamonds refine what earlier stages prepared rather than rescuing poor preparation. Color, aggregate exposure, protection, and sheen are considered together because each changes how the floor is perceived. The finished concrete should look intentional while still retaining the natural variation of the slab.
Continuing through fine diamond grits
The operator progresses through fine resin-bond diamonds, cleaning thoroughly between stages. Each pass reduces the scratches from the previous grit and gradually increases clarity and light reflection. The sequence may be adjusted when a particular slab responds differently across its area. Fine polishing is detailed work, especially around edges, repairs, and transitions where changes in tooling can show.
Adding color, stains, or decorative aggregate effects
For a new slab, color is selected before the concrete is mixed and placed, and the aggregate is part of that original design decision. On an existing slab, color options are more limited because grinding cannot add pigment to the concrete. Depth of cut can alter the balance between paste and stone, while decorative effects depend on what is actually present or seeded in the slab. Physical sample tiles or test grinds are more dependable than screen images; see this guide to choosing concrete color for the difference between new and existing concrete.
Applying guard products and stain protection
After polishing, a guard or sealer may be applied where the specification calls for added stain resistance or a particular visual effect. Product selection should match the location, expected traffic, cleaning regime, and desired appearance. A protective treatment can change the tone and reflection of the concrete, so it belongs in the sample approval process. Sealing protects the surface, but it does not eliminate the slab’s natural variations.
Defining the desired sheen from satin to high gloss
Satin offers a softer reflection and is often easier to live with in homes, while higher gloss levels create clearer reflections and can suit commercial or feature spaces. More sheen may make dust, scratches, and unevenness easier to see under strong light. The right choice balances aesthetics, traffic, glare, cleaning, and maintenance. A finish should be chosen by viewing a sample in lighting similar to the completed room.
Inspecting, protecting, and maintaining polished concrete
The process is not finished when the machine leaves the floor. Inspection, residue removal, site protection, and a clear cleaning routine help preserve the result through the rest of construction and everyday use. Polished concrete can be durable and low-maintenance, but it is not maintenance-free or immune to staining and scratching. A documented handover should explain what was applied and how the floor should be cared for.
Checking for consistent gloss, scratches, and surface defects
The final inspection checks the open floor, edges, joints, repairs, and areas viewed in direct and raking light. It looks for inconsistent gloss, remaining scratches, swirl marks, residue, and defects that need correction. Some variation is inherent in concrete, especially where pours, aggregate, or repairs differ. Acceptance should therefore compare the result with the approved sample and the agreed expectations, not with an unrelated photograph.
Cleaning residue after the polishing process
Fine dust, slurry residue, densifier remnants, and polishing compounds must be removed before the floor is handed over. The cleaning method depends on whether the process was wet or dry and on the products used. Residue left behind can dull the surface or attract dirt, making a properly polished floor appear unfinished. The floor should be clean and dry before protective products are assessed.
Protecting the floor during construction and installation
Other trades can damage a newly finished floor with metal filings, paint, plaster, grit, or dragged equipment. Clean, breathable protection should be installed after the surface is ready and kept secure without trapping moisture or contamination. Wheels, ladders, and stored materials also need consideration. Protection is especially important when kitchens, cabinetry, glazing, or skirtings are installed after polishing.
Using routine cleaning methods that preserve the finish
Routine care usually involves removing grit regularly and using a neutral cleaner appropriate for the floor’s protective treatment. Abrasive pads, harsh chemicals, and dirty water can reduce the appearance of the finish over time. Spills should be dealt with promptly in areas exposed to oil, food, or other staining materials. The maintenance plan should match the traffic level and the selected sheen rather than relying on one rule for every building.
Understanding when professional re-polishing is needed
Re-polishing may be appropriate when traffic has dulled the surface, fine scratches have accumulated, or the protective treatment needs renewal. The required work can range from cleaning and burnishing to a renewed fine-grit sequence, depending on the depth of wear. Deep damage, movement, or contamination may require more extensive repair. A professional assessment can distinguish normal aging from a problem that needs correction.
Conclusion
How polished concrete is made is a gradual process of understanding the slab, preparing it carefully, grinding and honing with the right diamonds, densifying the concrete, and polishing to a chosen sheen. The most successful floors begin with realistic decisions about color, aggregate, depth of cut, use, protection, and maintenance. When the existing concrete is treated as the finished material rather than hidden, its strengths and limitations can be planned for from the start.
Frequently Asked Questions
How long does polished concrete take to make?
The timeframe depends on floor size, access, slab condition, coating or adhesive removal, repairs, edge work, and the selected finish. New concrete also needs sufficient curing time before polishing, commonly at least 28 days.
Can any concrete slab be polished?
Not every slab is suitable. Structural movement, deep contamination, weak toppings, severe cracking, or extensive unevenness may limit the result or make another finish more appropriate. A site assessment and test grind provide better guidance than age alone.
Does polishing concrete reveal aggregate?
It can. The depth of the grind determines whether the result remains close to a natural paste finish, shows fine “salt and pepper” aggregate, or exposes larger stones. The final appearance depends on what aggregate is present in the slab.
Is polished concrete the same as sealed concrete?
No. Polishing mechanically refines the concrete with progressively finer abrasives. Sealing adds a protective treatment. A polished floor may also be sealed or guarded, but the two terms describe different parts of the process.
Can polished concrete be colored after it is poured?
Color is easiest to control before a new slab is poured because pigment is mixed into the concrete. Existing slabs have more limited options, although depth of cut, stains, and protective products can influence the appearance.
Is polished concrete slippery when wet?
A smooth polished interior floor can become more slippery when wet. Areas such as pool surrounds, ramps, and stairs may need a separate textured concrete treatment designed to provide grip rather than a highly polished finish.
How should polished concrete be maintained?
Remove grit regularly, clean spills promptly, and use a suitable neutral cleaner. Avoid abrasive tools and harsh chemicals unless the floor specification allows them. High-traffic floors may eventually need professional cleaning, maintenance, or re-polishing.